Living in a hurricane‑prone area means your HVAC system is always on the front line when severe weather hits. A single strong storm can damage outdoor units, flood components, and leave you without cooling or heating when you need it most. Protecting your HVAC system before, during, and after a storm not only safeguards your comfort, it can also save you thousands in repairs or early replacement.
This guide covers five practical, homeowner‑friendly tips to storm‑proof your HVAC system so it stays safer, lasts longer, and is ready to perform when the skies clear. The phrase “HVAC system” is used throughout because it is the central focus for improving resilience, performance, and search visibility.
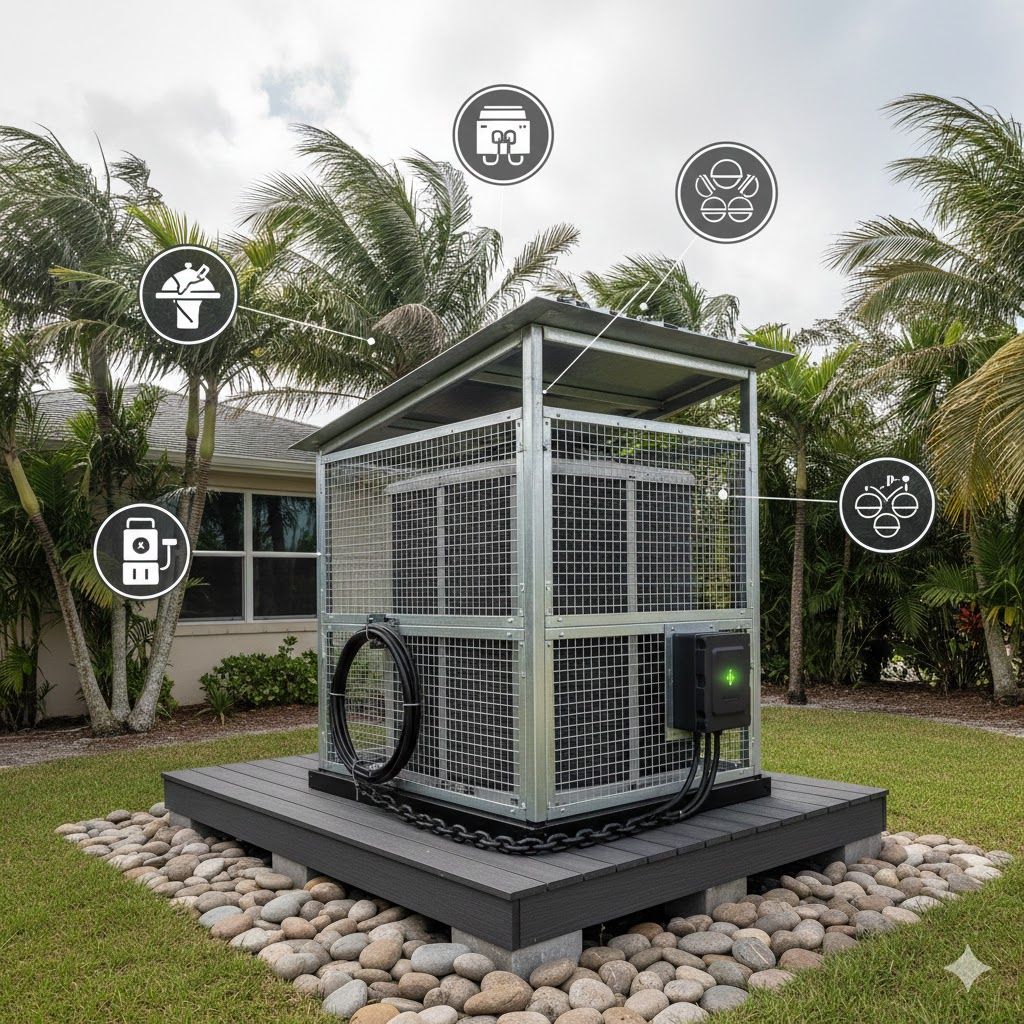
1. Secure and Elevate Your Outdoor Unit
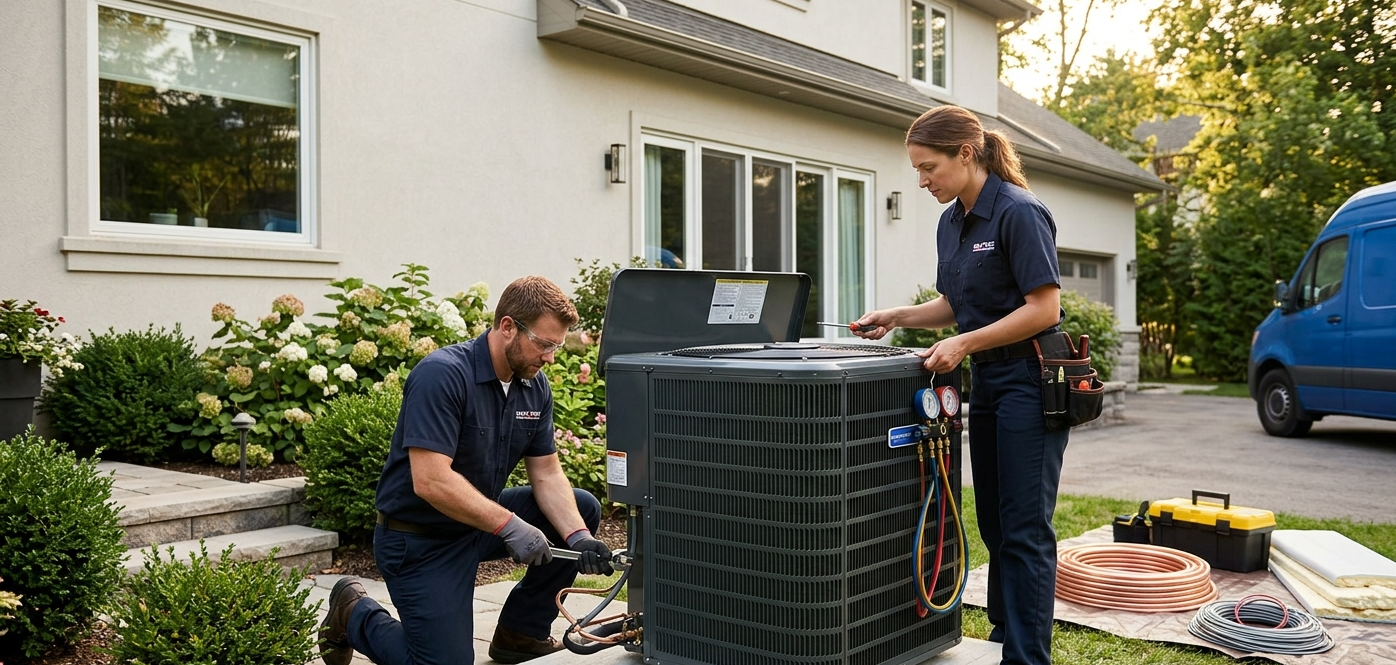
Your outdoor condenser is the most exposed part of your HVAC system, sitting right where wind, flying debris, and floodwater can do the most damage. Anchoring, elevating, and clearing the space around it dramatically improves its chances of making it through a storm in working condition.
Storm‑force winds can shift or topple an unsecured condenser, bending refrigerant lines, damaging the fan, and sometimes pulling electrical wiring loose. Even if the HVAC system looks intact afterward, this kind of movement can cause hidden damage that leads to leaks, reduced efficiency, or complete failure later.
To help storm‑proof your HVAC system outdoors:
Install hurricane‑rated anchors.
Securing the condenser base to a concrete pad with hurricane‑rated straps or anchors helps prevent the unit from sliding, tipping, or lifting in high winds. This is especially important in coastal regions where wind gusts can exceed standard design expectations.
Elevate above expected flood levels.
If your home is in a flood‑prone or low‑lying area, ask a licensed HVAC contractor to raise the condenser on a properly engineered platform. Elevation helps protect your HVAC system from standing water, storm surge, and flood‑related corrosion and contamination.
Clear the “impact zone.”
Trim trees, remove loose yard items, and move outdoor furniture, potted plants, or decor away from the condenser before storm season. Reducing nearby projectiles lowers the chance of debris being driven into the coils, fan grille, or casing of your HVAC system.
2. Protect Electrical and Refrigerant Connections
Even if the metal cabinet survives a storm, your HVAC system depends on vulnerable electrical and refrigerant connections that can be damaged by water, wind, and debris. Protecting these components can prevent shorts, corrosion, and refrigerant leaks that might not be obvious immediately after the storm.
Moisture intrusion into electrical components can cause arcing, corrosion, and intermittent failures weeks or months after the storm has passed. Reinforcing and sealing electrical and refrigerant connections now gives your HVAC system a better chance of operating safely and efficiently later.
Key protective steps include:
Weatherproof the electrical disconnect.
Make sure the outdoor electrical disconnect box is properly sealed, firmly mounted, and rated for exterior use. If the cover is cracked, loose, or missing, have it replaced so your HVAC system’s power point is better protected from rain and blown spray.
Use proper conduit and fittings.
Electrical wiring should be housed in appropriate conduit with tight, weather‑resistant fittings. This reduces water intrusion and helps prevent the kind of hidden electrical damage that can cause nuisance trips or equipment failure in your HVAC system after the storm.
Protect refrigerant lines.
Ensure refrigerant lines are properly insulated, strapped, and routed away from areas where branches, fencing, or other debris might fall. Secure line sets reduce the risk of kinks or breaks that can lead to costly refrigerant loss in your HVAC system.
3. Shut Down Your HVAC System Safely Before the Storm
One of the most overlooked steps in storm preparedness is how and when to shut down your HVAC system. Leaving the system running during a hurricane increases the risk of electrical damage, compressor failure, or fan blade damage if debris enters the unit.
Power surges, flickering voltage, and sudden outages are common as storms move through, and these events can be extremely hard on motors, capacitors, and control boards. Turning off your HVAC system at the right time offers a simple, powerful layer of protection.
A safe shutdown plan for your HVAC system should include:
Turn the system off at the thermostat first.
Set the thermostat to “Off” to stop the system from cycling as conditions worsen. This prevents unnecessary starts and stops during unstable power conditions.
Cut power at the outdoor disconnect or breaker.
After turning the thermostat off, use the outdoor disconnect switch or your main electrical panel to shut off power to the HVAC system. This protects sensitive electronics and the compressor from power surges and lightning‑related voltage spikes.
Consider surge protection.
Whole‑home or dedicated surge protection for your HVAC system adds another defense against storm‑related electrical spikes. Paired with manual shutdown, it provides a more comprehensive strategy to shield your equipment.
4. Use Covers and Barriers the Right Way
Many homeowners instinctively want to wrap or cover everything outside before a storm, but covering your HVAC system must be done correctly. The wrong kind of cover, or leaving it on too long, can trap moisture, invite corrosion, and even encourage pest activity.
The goal is to shield your HVAC system’s outdoor unit from flying debris without restricting airflow long term or trapping water against the coils and cabinet. Good planning and proper timing matter as much as the cover itself.
Smart cover and barrier strategies include:
Use a manufacturer‑approved or breathable cover.
If you use a cover, choose one designed for HVAC systems that allows ventilation while providing impact and debris protection. Never use plastic tarps that trap moisture tightly against the unit.
Cover only when the system is off.
Only place a cover on the outdoor unit after you’ve properly shut down your HVAC system. Running the system with a cover on can quickly overheat components and cause permanent damage.
Remove covers promptly after the storm.
As soon as it is safe, remove any covers or temporary barriers from your HVAC system to allow drying and normal airflow. Leaving covers on for days or weeks after the storm increases the risk of rust, mold, and deterioration.
Avoid blocking drainage.
Make sure sandbags, boards, or temporary barriers around your home do not block the unit’s drainage or direct water toward your HVAC system. Standing water around the base increases corrosion and can damage wiring and components.
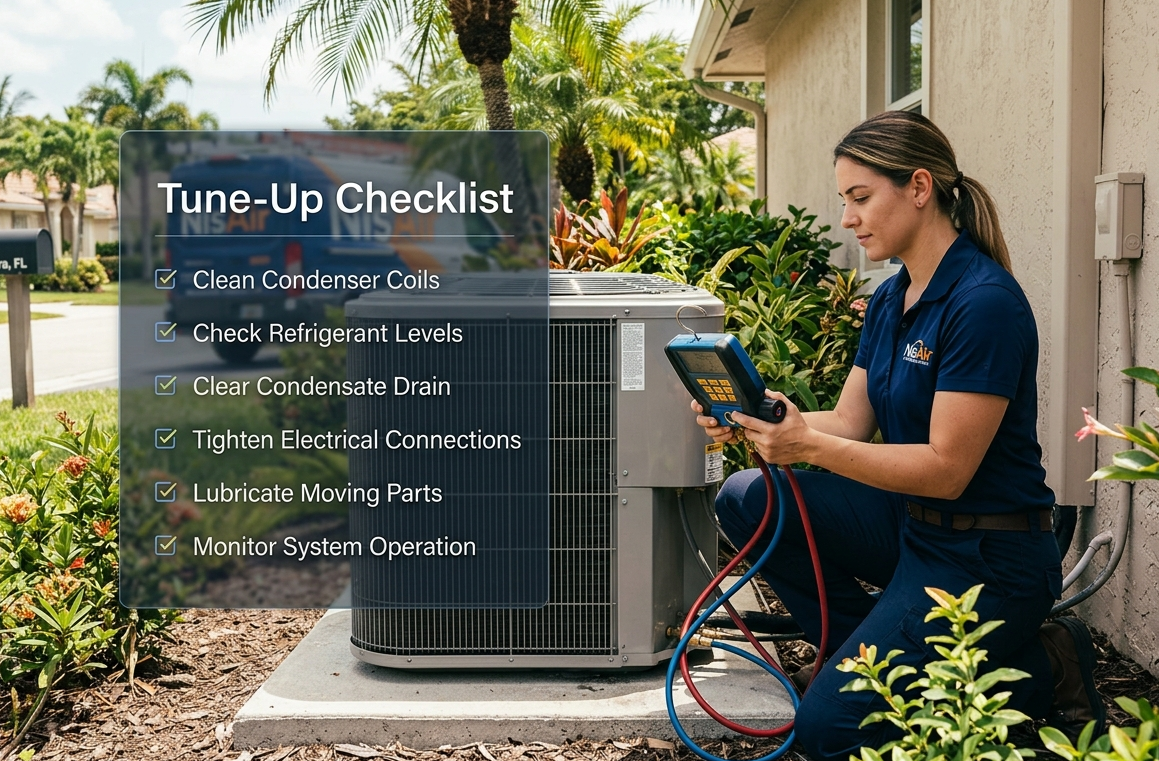
5. Schedule a Post‑Storm HVAC System Inspection
Even if your HVAC system appears to have survived a storm, hidden damage can cause problems later—from decreased efficiency and higher energy bills to sudden breakdowns during the next heat wave. A professional post‑storm inspection helps catch these issues early while they are easier and less expensive to fix.
Trained technicians know how to spot subtle signs of storm damage: bent fan blades, coil damage, loose connections, refrigerant leaks, and compromised electrical components. A thorough inspection helps restore optimal performance and extends the life of your HVAC system after severe weather.
A comprehensive post‑storm service for your HVAC system should include:
Visual and structural checks.
The technician examines the outdoor unit for cabinet damage, misalignment, bent fins, debris inside the fan section, and any signs that the unit shifted on its pad or platform.
Electrical and control testing.
All electrical connections, capacitors, contactors, and control boards are inspected and tested to verify safe operation after power surges or outages. This helps ensure your HVAC system runs reliably when you turn it back on.
Refrigerant and airflow verification.
The system’s refrigerant charge, airflow, and temperature differentials are measured to confirm the HVAC system is operating within manufacturer specifications, not just “turning on.”
Indoor components and ductwork review.
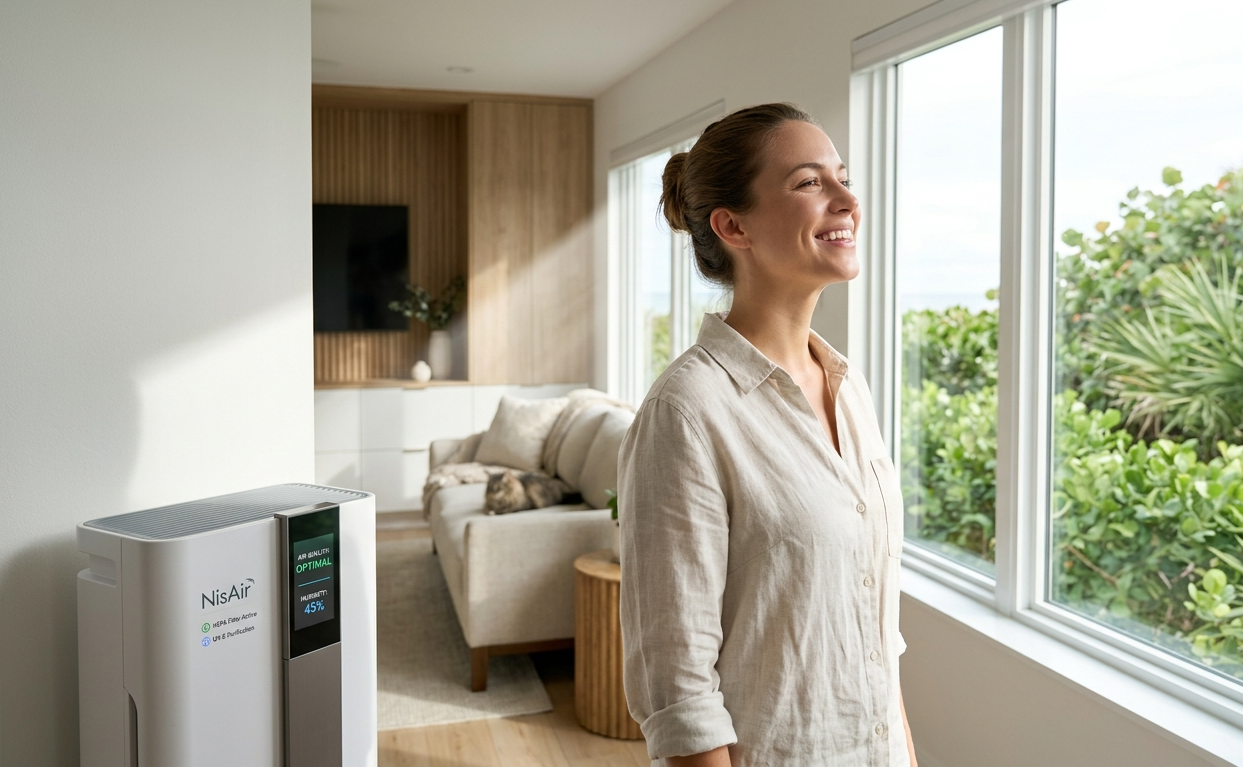
The indoor air handler, condensate drain, and accessible ductwork are checked for water intrusion, clogs, mold risk, or insulation damage caused by roof leaks or wind‑driven rain. Keeping these components healthy is essential for both comfort and indoor air quality.
Make Storm Protection Part of Your Regular Maintenance
Storm‑proofing your HVAC system should not be a one‑time project done the week a hurricane appears on the forecast. The most effective protection comes from building these steps into a regular maintenance plan so your equipment is always closer to “storm‑ready.”
Combine seasonal tune‑ups with storm checks.
During spring or early summer visits, ask your HVAC professional to inspect anchors, platforms, electrical connections, and drainage around your outdoor unit. This ensures your HVAC system is ready long before storm season peaks.
Keep records and photos.
Maintaining a simple log and periodic photos of your HVAC system before and after major storms helps document its condition for insurance purposes and guides future repairs or upgrades.
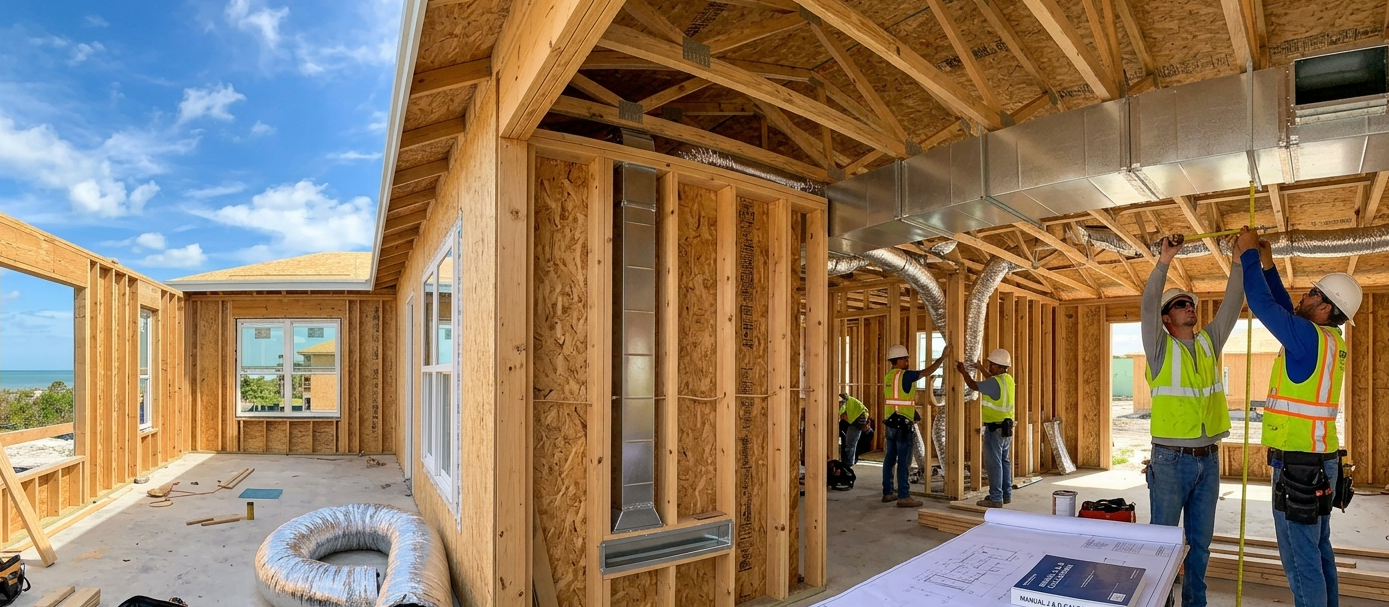
Plan for upgrades with storms in mind.
When it is time to replace your HVAC system, consider equipment, mounting, and accessories that are better suited to high‑wind and high‑moisture environments. That can include more corrosion‑resistant materials, elevated pads, and improved surge protection.
By securing the outdoor unit, protecting electrical and refrigerant connections, shutting the HVAC system down safely before storms, using covers correctly, and scheduling post‑storm inspections, you dramatically improve your system’s resilience. These steps help your
HVAC system recover faster, operate more reliably, and deliver the comfort you need in the challenging weeks after severe weather passes.