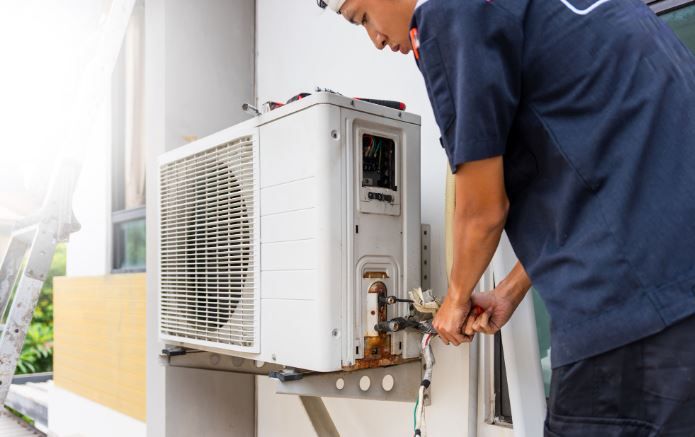
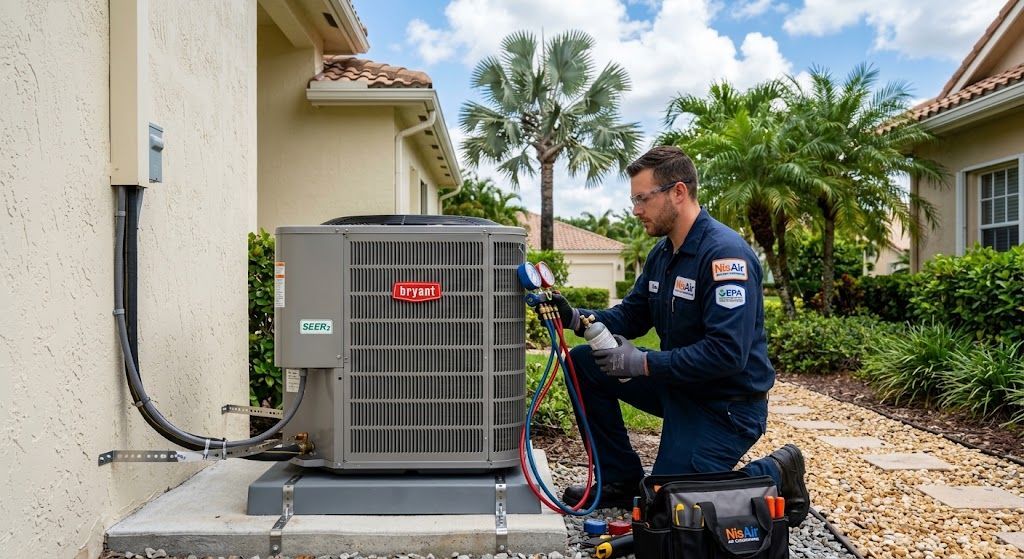
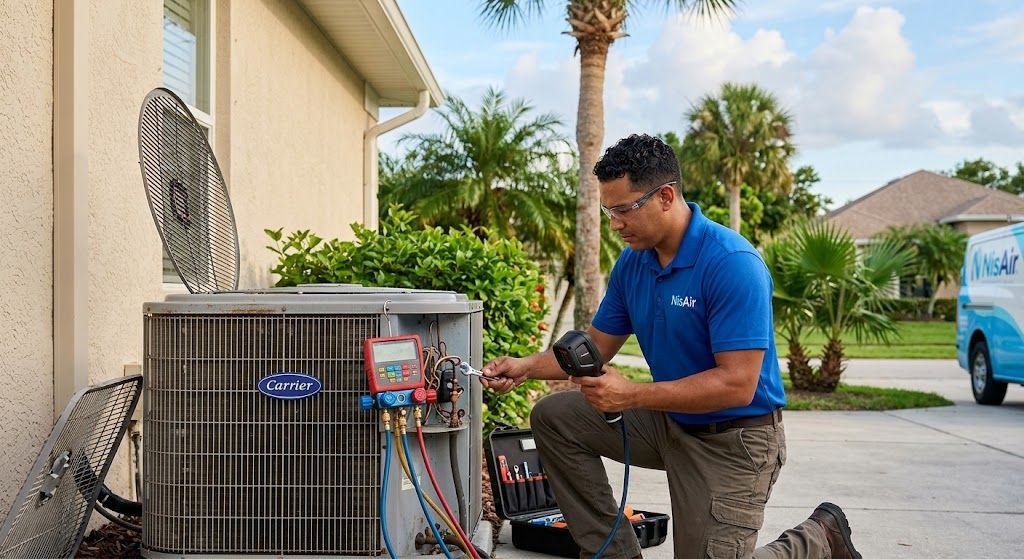
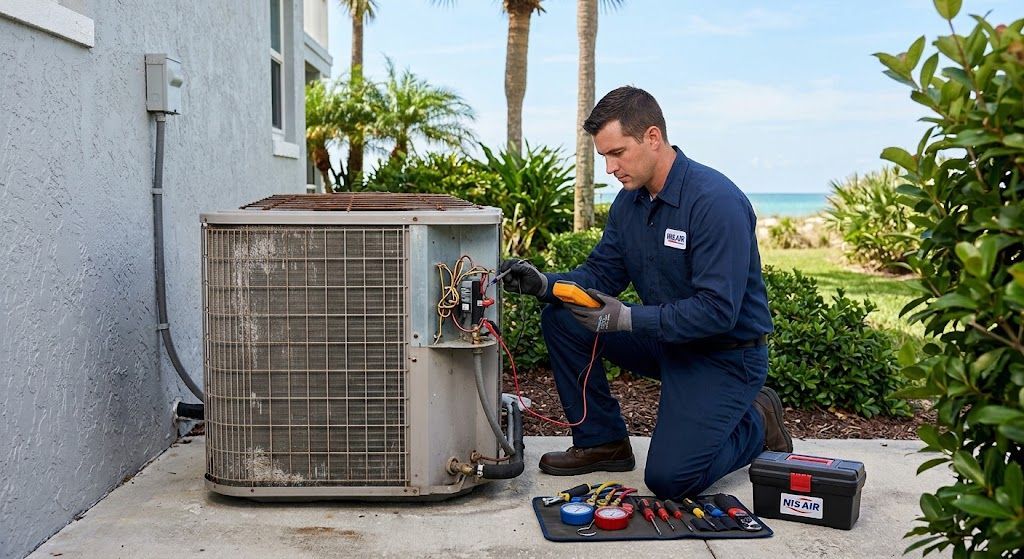
Maintaining a comfortable, healthy, and energy-efficient indoor environment requires a properly functioning cooling and heating system. Heating, ventilation, and air conditioning equipment represents one of the largest ongoing investments in your residential property. Without continuous care, performance drops, power consumption spikes, and structural components experience accelerated wear and tear.
A proactive plan centered around regular HVAC maintenance prevents unexpected failures during severe weather. Whether managing hot, humid summer afternoons or chilly seasonal evenings, staying ahead of basic upkeep preserves comfort while drastically reducing total operational costs over time.
The Core Benefits of Routine HVAC Maintenance
Investing minimal time into caring for your home comfort equipment yields substantial dividends. Understanding the structural advantages helps prioritize routine checkups as part of standard property care.
1. Extended Equipment Lifespan
A heating and cooling system contains numerous mechanical parts, including motors, bearings, blowers, and compressors. Without routine care, friction, dust build-up, and electrical stress wear down these parts prematurely. Consistent attention extends operational life, delaying the massive expense of total replacement.
2. Lower Monthly Utility Bills
When components become dirty or misaligned, the system must work harder to move air and regulate temperatures. An unmaintained air conditioner or furnace can consume up to 30 percent more electricity or fuel than a well-tuned counterpart. Keeping components clean lowers overall energy usage month after month.
3. Prevention of Costly Emergency Repairs
Major mechanical breakdowns rarely happen without warning. Minor issues like a clogged condensate drain, loose wiring, or a frayed blower belt start small before triggering complete system failure. Standard inspections catch these minor faults before they escalate into high-cost repair bills.
10 Steps for Effective Home HVAC Maintenance
Homeowners can execute several straightforward maintenance steps independently, while others require specialized tools and expert evaluation. Following a structured upkeep routine keeps your equipment operating smoothly throughout every season.
Step 1: Replace or Clean Air Filters Frequently
Air filters serve as the primary barrier preventing dust, dander, pollen, and debris from entering the internal mechanical assembly.
- Inspection Frequency: Check non-washable fiberglass or pleated filters every 30 to 60 days.
- Replacement Schedule: Swap out standard 1-inch filters every 1 to 3 months. Households with pets or allergy sufferers may require monthly replacements.
- Impact of Neglect: Clogged filters restrict airflow, forcing the blower motor to strain, reducing indoor air quality, and potentially causing cooling coils to freeze solid.
Step 2: Clear the Area Around the Outdoor Condenser
The outdoor unit requires unobstructed airflow to release heat removed from your indoor living spaces.
- Clearance Zone: Maintain at least two feet of open, clear space around all sides of the outdoor cabinet.
- Debris Management: Trim back overgrown bushes, tall grass, hanging limbs, and decorative foliage.
- Surface Cleaning: Remove accumulated leaf litter, grass clippings, twigs, and pine needles from the top and sides of the unit casing.
Step 3: Inspect and Clean the Outdoor Condenser Fins
The thin metal fins wrapping around the outdoor coil collect dirt, pollen, and road grime over time, restricting heat transfer.
- Turn off electrical power to the unit at the outdoor disconnect box.
- Gently spray the exterior fins with a low-pressure garden hose, angling the water spray downward to wash away surface dirt.
- Avoid high-pressure washers, which easily bend fragile aluminum fins.
- Straighten any bent fins carefully using a specialized fin comb tool.
Step 4: Flush and Inspect the Condensate Drain Line
During active cooling, your system extracts gallons of moisture from indoor air daily. This condensation collects in a drain pan and flows out through a PVC drain line.
- Preventing Clogs: Algae, mold, and sludge frequently form inside the dark, damp line. Pour a cup of plain white vinegar or warm water down the T-pipe access port near the indoor air handler once every season.
- Clearing Blockages: If water backs up, use a wet/dry vacuum attached to the exterior drain exit to suction out stubborn debris. A blocked line can cause water damage inside walls, floors, and ceilings.
Step 5: Clean and Unblock Supply and Return Vents
Proper air circulation requires unobstructed passage through both supply registers and return air vents throughout every room.
- Ensure furniture, rugs, heavy drapery, and storage boxes do not cover vents.
- Vacuum surface dust and pet hair from metal grates regularly.
- Keep internal interior doors slightly propped open to maintain balanced air pressure across all zones.
Step 6: Test and Calibrate Your Thermostat
The thermostat acts as the brain of your climate control infrastructure. Inaccurate readings force the compressor and fan to run unnecessarily long cycles.
- Battery Replacement: Replace batteries in digital thermostats annually to prevent signal drops.
- Upgrade Options: Consider replacing older manual thermostats with programmable or smart models to schedule temperature setpoints based on daily family routines.
- Placement Checks: Ensure thermostats are mounted away from direct sunlight, drafty windows, exterior doors, and heat-producing appliances.
Step 7: Inspect and Clean the Evaporator Coil
Located inside the indoor air handler, the evaporator coil absorbs heat from indoor air. Over time, microscopic dust slips past filters and coats the wet coil surface.
- Inspect the coil annually for visible dust, biological growth, or frost build-up.
- Clean light dust accumulation using a soft brush or self-rinsing foaming coil cleaner.
- If heavy grime or ice is visible, shut down the system immediately to prevent compressor damage and contact a certified technician.
Step 8: Verify Blower Assembly and Motor Performance
The blower fan propels conditioned air through ductwork into your living spaces.
- Dust Cleanup: Turn off power and gently wipe accumulated dust off the blower wheel blades. Dust buildup reduces air output and imbalances the motor.
- Belt Inspection: On older belt-driven systems, check the tension and look for cracking or fraying along the belt edges.
- Lubrication: If the motor features oil ports, apply a few drops of non-detergent motor oil according to manufacturer guidelines.
Step 9: Examine Electrical Wiring and Components
Electrical connections naturally expand and contract with temperature changes, leading to loose terminal screws or worn contacts.
- Visually inspect exposed wiring for signs of scorching, discoloration, frayed insulation, or pest damage.
- Ensure control board connections remain secure.
- Check contactor switches and capacitors for bulging, leaking, or severe pitting. Note: Electrical repairs involve high voltage and should strictly be handled by trained technicians.
Step 10: Schedule Professional Seasonal Inspections
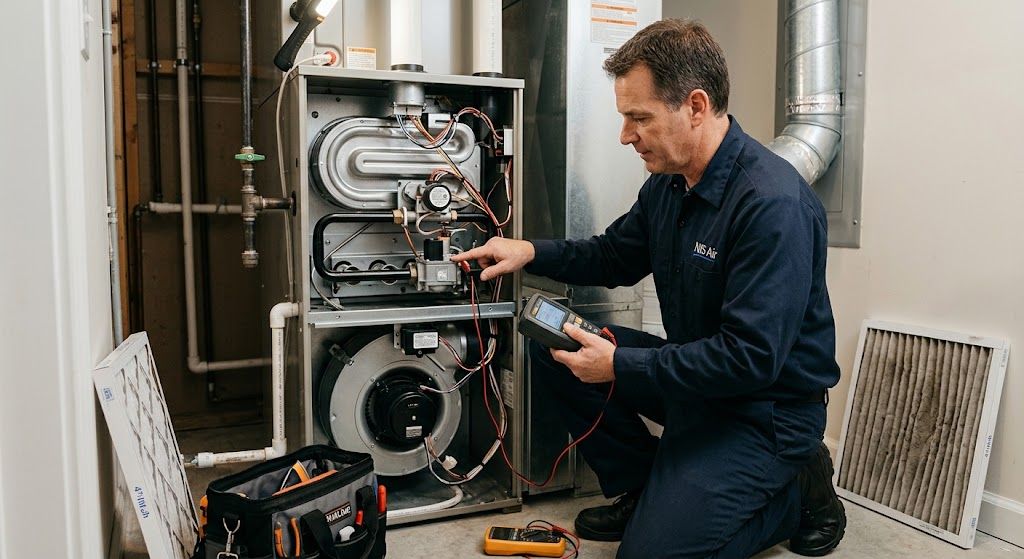
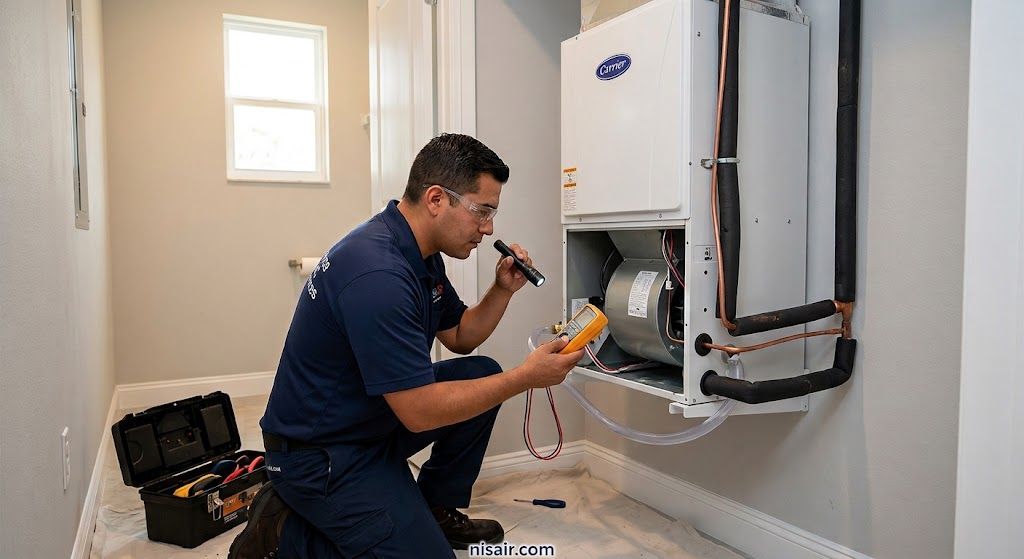
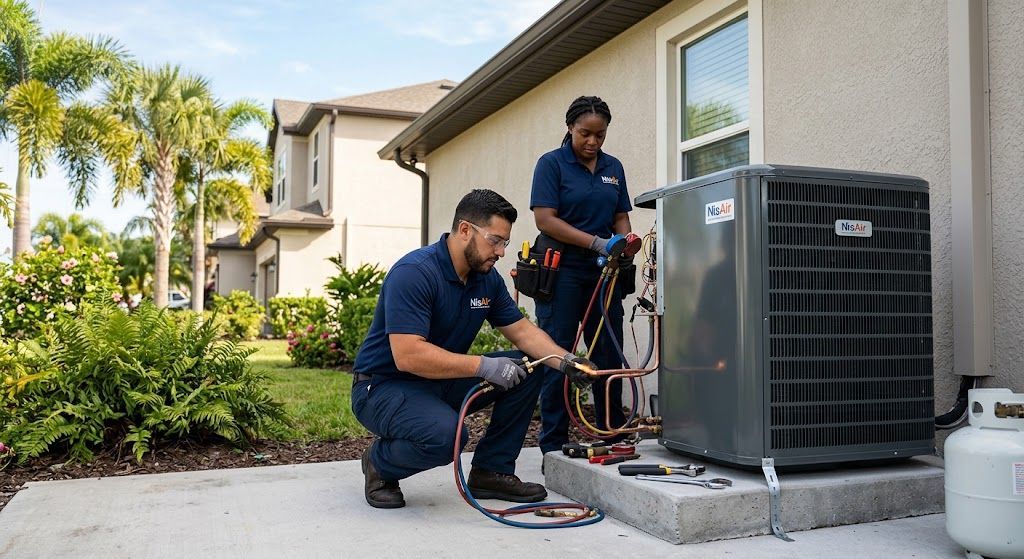
While DIY care handles basic cleanliness, professional technicians perform precise technical measurements required for total safety and optimal performance.
- Frequency: Schedule professional service twice per year—once in the spring for cooling systems, and once in the autumn for heating units.
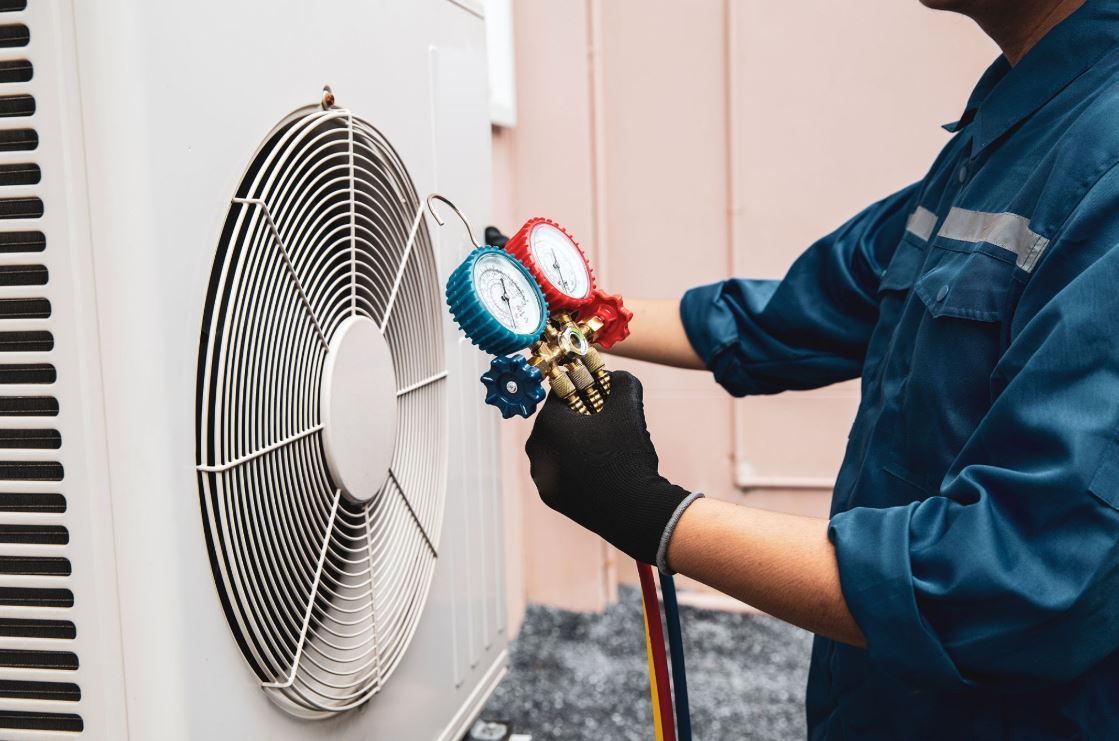
- Technician Checks: Professionals test refrigerant levels, check for duct leakage, measure electrical draw, test safety shut-off controls, and inspect heat exchangers for dangerous cracks.
Seasonal Checklist for Homeowner Upkeep
Organizing upkeep by season simplifies tracking and ensures your equipment receives the appropriate care before weather extremes arrive.
Spring Preparation (Cooling Focus)
- Install a fresh air filter before switching to cooling mode.
- Clear all leaves, weeds, and winter debris from around the outdoor condensing unit.
- Hose off dust from coil fins.
- Flush the condensate drain pipe to prepare for heavy summer moisture removal.
- Test the thermostat on cooling mode to verify the outdoor compressor engages cleanly.
Summer Maintenance (Peak Usage)
- Check filters monthly and replace as soon as dust layer becomes visible.
- Monitor indoor humidity levels to ensure proper moisture removal.
- Verify that water flows freely out of the exterior drain outlet while cooling runs.
- Keep surrounding foliage trimmed back during peak growing weeks.
Fall Preparation (Heating Focus)
- Replace air filters prior to starting the heating season.
- Inspect furnace burner assemblies, ignition systems, and heat exchangers.
- Clean return air grates and verify supply vents are open in all rooms.
- Check carbon monoxide and smoke detectors throughout the home.
- Test thermostat heating functions to confirm prompt heat delivery.
Winter Upkeep (Heating & System Care)
- Keep snow, ice, and fallen branches cleared from heat pump outdoor units.
- Continue monthly filter checks, as winter heating circulates heavy indoor dust.
- Maintain a minimum indoor setpoint to prevent plumbing pipes from freezing during extreme cold snaps.
Signs Your Equipment Needs Immediate Attention
Catching structural performance declines early prevents total mechanical failure. Contact a qualified technician immediately if you experience any of the following warning signs:
- Unusual Noises: Screeching, grinding, clanking, or loud banging sounds indicate failing bearings, loose belts, or damaged internal motor components.
- Foul Odors: Burning smells, musty, damp odors, or rotten-egg scents indicate potential electrical overheating, mold accumulation in ducts, or dangerous gas leaks.
- Short Cycling: If the unit turns on and off rapidly without reaching the desired setpoint, it may suffer from thermal overload, miscalibrated controls, or incorrect sizing.
- Spike in Utility Costs: A sudden, unexplained increase in monthly energy bills points to severe efficiency drops or refrigerant loss.
- Inconsistent Temperatures: Hot and cold spots throughout different rooms signal air distribution imbalance, leaky ductwork, or a weak blower assembly.
Choosing the Right Service Partner
While homeowner tasks like replacing filters and clearing garden debris keep systems running smoothly, comprehensive safety checks require expert diagnostic equipment. Partnering with a licensed, experienced local specialist ensures your equipment remains compliant with manufacturer warranty guidelines while maximizing performance.
When selecting a professional service provider, evaluate the following criteria:
- Licensing and Insurance: Verify the company holds active state licensing, full liability coverage, and worker's compensation insurance.
- Technician Certification: Look for technicians certified by recognized industry organizations such as NATE (North American Technician Excellence).
- Transparent Pricing: Select contractors providing written, upfront estimates prior to beginning any repair work.
- Emergency Service Availability: Systems can fail during heatwaves or sudden cold snaps, making round-the-clock emergency support critical.
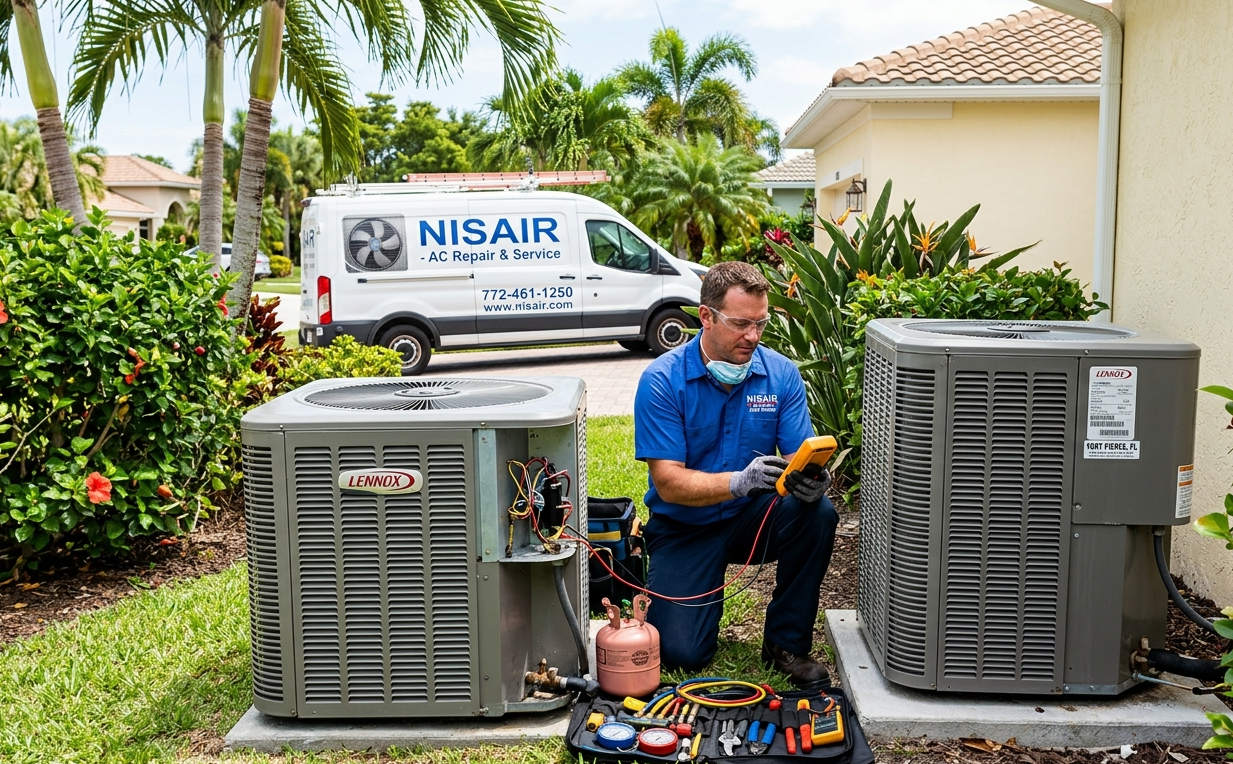
When scheduling comprehensive seasonal checkups, turn to seasoned local professionals like NisAir for trusted, long-term
HVAC maintenance solutions tailored to your property's precise climate demands.
Conclusion
Proactive climate control care protects your home, lowers monthly energy costs, and delivers consistent indoor comfort through every season. By executing simple DIY steps—such as replacing filters, clearing outdoor units, and flushing drain lines—you reduce wear on critical components and prevent unexpected breakdowns.
Combining regular home care with professional bi-annual inspections preserves system efficiency, protects air quality, and ensures your home remains a reliable sanctuary of comfort year-round.