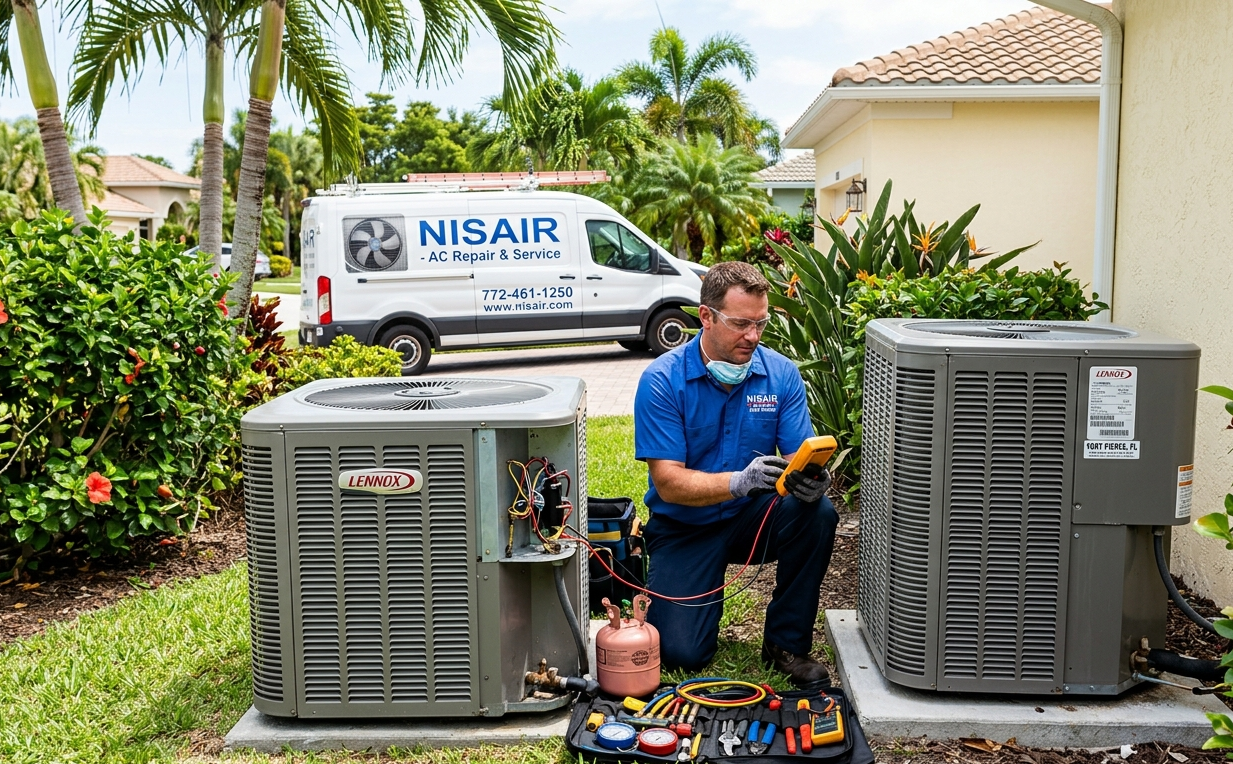
As the crisp autumn air transitions into the bitter chill of winter, your home's heating system quickly becomes the most important mechanical installation under your roof. Whether you rely on a high-efficiency gas furnace, a modern heat pump, or an electric heating unit, your system works tirelessly behind the scenes to keep your indoor spaces safe, cozy, and comfortable. However, expecting a heating system to run flawlessly month after month without routine inspection and care is a recipe for sudden breakdowns, elevated utility bills, and safety risks. Executing consistent seasonal
heater maintenance ensures that your system operates safely, conserves energy, and delivers consistent warmth throughout the cold season.
This comprehensive homeowner's guide provides an actionable, step-by-step breakdown of how heating systems work, why routine maintenance is essential, what tasks you can manage on your own, and when it is critical to call in a certified HVAC professional.
Why Routine Heating System Upkeep Matters
Before jumping into practical steps, it helps to understand why staying proactive with your heating equipment pays off over time. A heating unit is a complex collection of electrical controls, moving mechanical parts, thermal exchangers, and air distribution ductwork. Over months of operation, dust accumulates on vital components, mechanical fasteners loosen, moving assemblies dry out, and structural parts experience thermal stress. Neglecting these minor operational issues can cause them to escalate into costly structural failures.
1. Superior Energy Efficiency and Lower Monthly Utility Bills
When dust accumulation coats your unit's internal blowers, sensors, and heating coils, the system must work significantly harder to move air and reach your desired thermostat setpoint. Increased mechanical resistance means the electric motor consumes higher amperage, and fuel-burning systems require longer burn cycles. Regular
heater maintenance removes airflow bottlenecks, calibrates electrical controls, and optimizes thermal transfer. This clean, friction-free operation keeps your energy consumption low and prevents unexpected spikes in your monthly utility costs.
2. Extended Equipment Service Life
An HVAC system represents a major capital investment in your residential property. Most modern heating systems are engineered to last between 15 and 20 years, but that lifespan assumes proper care. When a system operates with clogged filters, unlubricated bearings, or unbalanced fan blades, it experiences excessive strain and vibration. Over time, this friction degrades major internal components like the blower motor or compressor. Committing to routine
heater maintenance protects your investment by minimizing premature wear and tearing down wear factors before they cause widespread equipment failure.
3. Enhanced Indoor Air Quality
During colder months, doors and windows remain closed tight, trapping indoor air inside your home. If your heating unit contains accumulated dust, mold spores, pet dander, or allergen buildup, every heating cycle redistributes these airborne pollutants throughout your living spaces. Comprehensive
heater maintenance includes cleaning filtration hardware, clearing drain pans, and wiping down air delivery paths, ensuring the air circulating through your home stays fresh and healthy.
4. Critical Home Safety and Health Protection
For homeowners using natural gas, propane, or oil heating systems, safety is the single most compelling reason to prioritize maintenance. Fuel-burning equipment generates dangerous combustion byproducts, including odorless, toxic carbon monoxide gas. A cracked heat exchanger, misaligned burner, or obstructed exhaust vent can leak these hazardous gases directly into your living spaces. Regular
heater maintenance provides a essential safety check, verifying that combustion is clean, exhaust venting is clear, and safety shutoff controls function properly.
The Essential 9-Step Guide to Complete System Upkeep
To keep your home warm and secure all winter, implement this structured 9-step plan. This approach combines simple DIY tasks you can perform throughout the season with essential professional checkpoints.
Step 1: Replace or Clean Air Filters Frequently
The air filter is your system's primary line of defense against airborne debris, and replacing it is the simplest DIY task you can perform. A dirty, clogged air filter restricts airflow, forcing your system's blower motor to labor against high static pressure. This restriction starves the system of air, leading to overheating, short-cycling, and unnecessary mechanical stress.
- Inspection Frequency: Check your filter every 30 days during peak winter months.
- Replacement Schedule: Replace standard 1-inch pleated filters every 1 to 3 months. High-efficiency 4-inch media filters can last 6 to 12 months depending on household factors like pets and dust levels.
- Selection: Choose a filter with a MERV (Minimum Efficiency Reporting Value) rating that matches your system's design specifications—typically between MERV 8 and MERV 11 for residential setups.
Step 2: Clear and Unblock All Supply and Return Air Registers
Your heating system relies on a delicate balance of supply air (warm air blown into rooms) and return air (cool air drawn back into the system). Obstructing registers disrupts this balance, creating uneven pressure differentials across your ductwork.
- Walk through every room in your home to inspect floor, wall, and ceiling vents.
- Ensure furniture, rugs, drapes, and toys are placed at least 12 to 18 inches away from all registers.
- Vacuum dust, pet hair, and debris off register grilles to keep air moving freely.
- Keep supply registers open—closing vents in unused rooms creates static backpressure that can cause duct leaks and damage system blowers.
Step 3: Inspect and Test Thermostat Functionality
Your thermostat acts as the brain of your heating system. If it misreads room temperatures or fails to communicate cleanly with your control board, system performance suffers immediately.
- Calibration Check: Place an accurate handheld thermometer near your thermostat. If the readings differ by more than two degrees, your thermostat may need recalibration or replacement.
- Battery Maintenance: If your thermostat uses battery power, install fresh batteries at the start of every heating season to avoid sudden shutoffs.
- Smart Upgrades: Consider installing a programmable or smart thermostat. These devices let you automate temperature schedules, reducing heating output when you are away or asleep to optimize comfort and efficiency.
Step 4: Keep the Outdoor Heat Pump Cabinet Clean and Clear
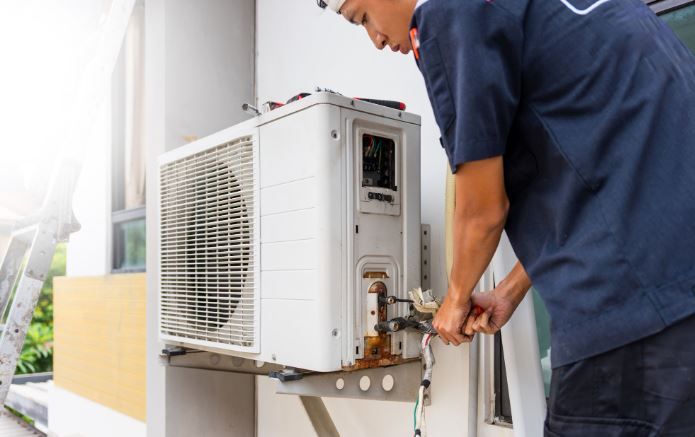
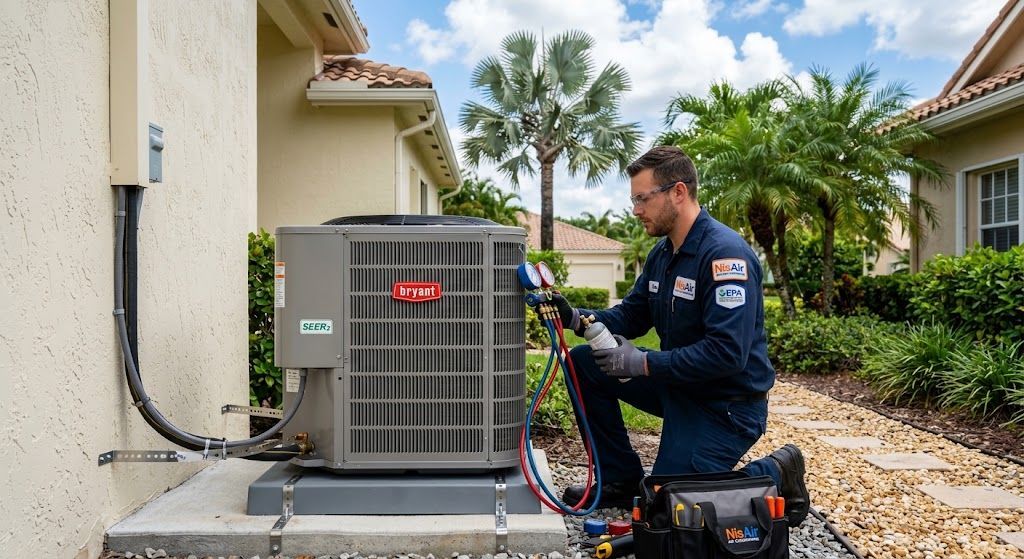
If your home uses a heat pump system, the outdoor condensing unit operates year-round. In winter, this outdoor coil extracts ambient heat from cold air outside and transfers it indoors.
- Maintain a clear 2-foot perimeter around the outdoor cabinet by clearing away fallen leaves, dead grass, weeds, and debris.
- Gently rinse dust and dirt off the exterior aluminum fins using a low-pressure garden hose (never use a high-pressure power washer, which can bend delicate fins).
- Clear away snow accumulation and ice build-up around the base of the unit during winter storms to ensure adequate air circulation.
Step 5: Clean the Flame Sensor and Burner Assembly (Fuel Systems)
Gas and oil furnaces rely on an electronic flame sensor rod to confirm that a burner flame is active during operation. Over time, oxidation and carbon deposits form a microscopic coating over this metal rod, insulating it from the flame. When the control board fails to sense a flame, it triggers a safety lockout, shutting the system down.
- A technician will safely disconnect the electrical harness, remove the mounting screw, and withdraw the flame sensor rod.
- Using fine emery cloth or ultra-fine steel wool, the sensor is gently cleaned to remove surface oxidation without damaging the metal substrate.
- The burner orifices are also inspected and cleared of dust and cobwebs to ensure smooth, even ignition.
Step 6: Inspect Electrical Connections and Test Safety Switches
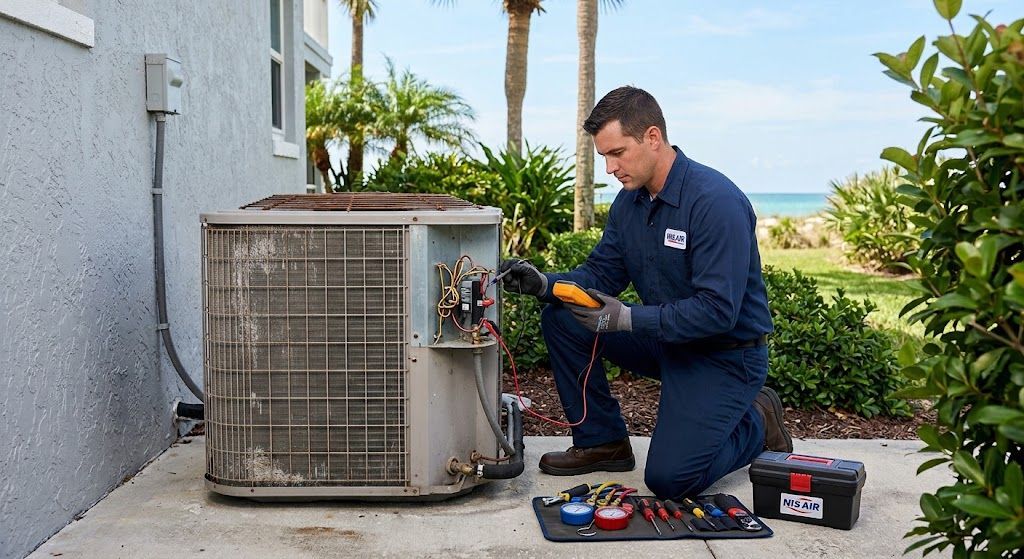
Heating systems rely on high-voltage connections to power motors and element banks, alongside low-voltage wiring circuits that carry signals to safety switches and control boards. Vibration from normal operation can loosen electrical connections over time, leading to arcing, short circuits, or component failure.
- Technicians inspect and tighten terminal screws across control boards, contactors, and relays.
- Safety mechanisms—such as high-limit switches, rollout switches, and pressure switches—are tested to confirm they break the circuit if operating temperatures or pressures exceed safe limits.
- Electrical current draw (amperage) on motors and heating elements is measured using a clamp meter to verify operation matches manufacturer specifications.
Step 7: Inspect and Flush the Condensate Drain Line
High-efficiency furnaces (90%+ AFUE rated) and heat pumps generate moisture during operation. High-efficiency units extract thermal energy from flue gases, turning water vapor into acidic condensate that must drain safely out of your home.
- Check the condensate drain line and trap for algae growth, sediment, or standing water.
- Flush the drain line with a mixture of warm water and white vinegar to break up sludge and clear blockages.
- Test condensate pumps to ensure the float switch activates properly, preventing water back-ups that could damage surrounding floors or trigger system safety shutdowns.
Step 8: Examine the Heat Exchanger and Flue Venting
The heat exchanger is the metal chamber inside a furnace where combustion occurs. Its walls separate dangerous flue gases from the clean air circulating through your home's living areas.
- Visual Inspection: Technicians use specialized micro-cameras and inspection mirrors to check heat exchanger walls for stress cracks, severe rust, or metal fatigue.
- Flue Pipe Testing: The exhaust flue pipe is inspected for loose joints, physical damage, or soot blockages that could cause combustion gases to back-draft into the home.
- Carbon Monoxide Testing: Air streams are checked with calibrated gas detectors to ensure zero dangerous gas leaks during active heating cycles.
Step 9: Lubricate Blower Bearings and Adjust Drive Belts
Proper mechanical lubrication is essential for smooth, quiet operation in systems with serviceable motor bearings and belt-driven blowers.
- Apply non-detergent motor oil to dedicated oil ports on older blower motors and shaft bearings.
- Inspect drive belts for cracking, fraying, or improper tension, adjusting or replacing them as needed to prevent slippage and power loss.
When to Call a Professional
While basic tasks like replacing air filters, clearing vent covers, and setting thermostats are simple DIY steps, comprehensive heating tune-ups require specialized equipment, diagnostic training, and safety expertise.
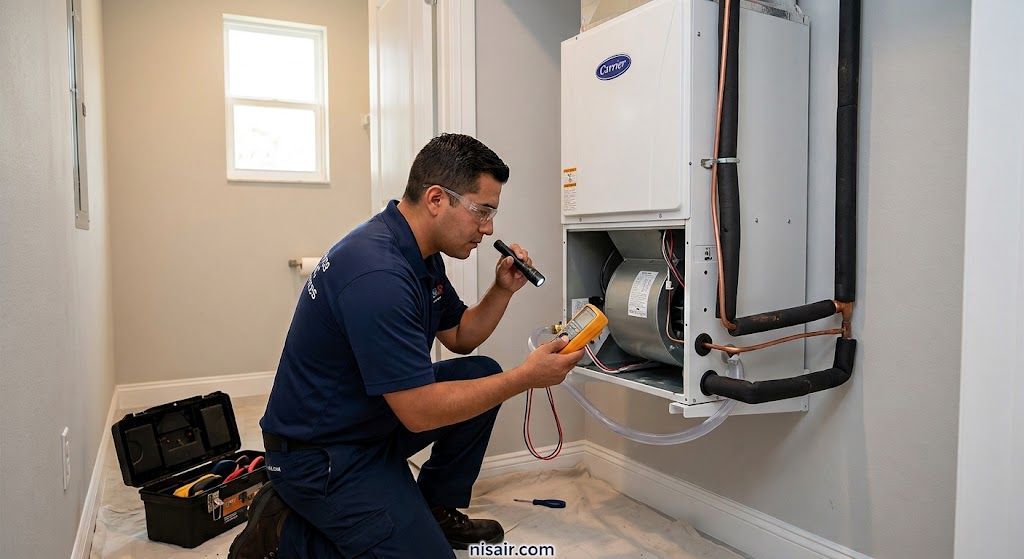
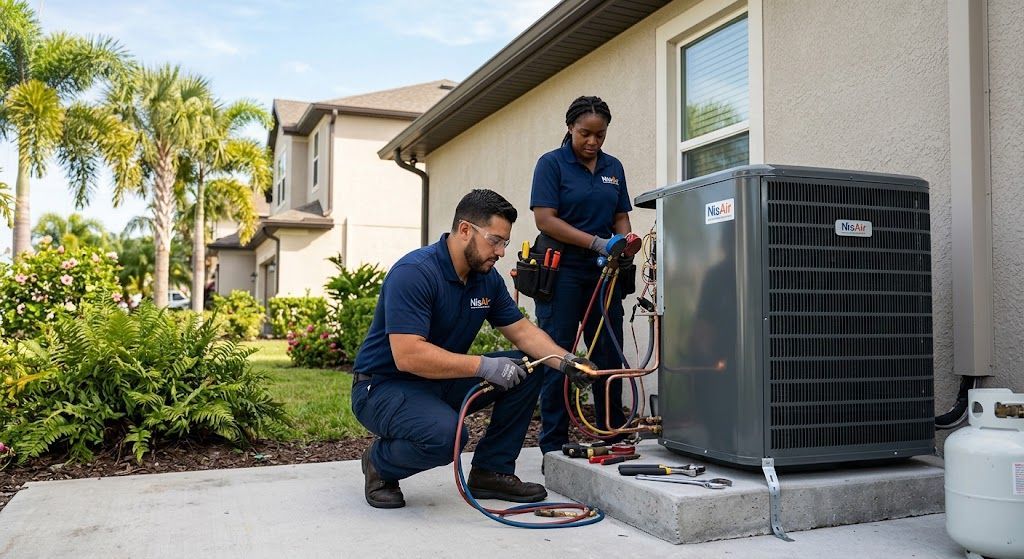
Professional technicians carry specialized instruments like combustion analyzers, digital manometers, and thermal imaging cameras that allow them to spot hidden issues long before they cause system failures. Booking an annual professional tune-up ensures every safety control, gas valve, electrical circuit, and mechanical assembly is evaluated according to strict industry standards.
To keep your home warm, efficient, and safe all winter long, schedule your annual tune-up with the certified heating experts at
https://www.nisair.com/. Their team of skilled technicians provides complete system inspections, precision cleaning, and performance optimization tailored to your specific equipment needs.
Key Maintenance Summary
Maintaining your heating system isn't complicated, but consistency is crucial. Use this simple checklist as a quick reference throughout the winter:
- Monthly: Inspect air filters; check outdoor heat pump clearance; keep supply and return vents unblocked.
- Bi-Annually: Check thermostat batteries; flush condensate drain lines; inspect system performance during seasonal shifts.
- Annually: Schedule a professional inspection covering electrical connections, gas pressure calibrations, heat exchanger safety checks, and mechanical lubrication.
By staying proactive with routine care, you will enjoy a cozy home, lower energy costs, and reliable warmth no matter how cold it gets outside.