7 Steps for Fast, Effective Heater Repair at Home or Office
When winter temperatures drop, a fully functional home heating system changes from a mild convenience into a vital home asset. Whether your heat pump or furnace suddenly stops blowing warm air on a cold night, starts making unusual grinding sounds, or repeatedly cycles on and off, facing heating system problems can be deeply stressful. Understanding how to handle heater repair logically can help you restore warmth safely, keep repair expenses low, and determine when a DIY fix is appropriate versus when to contact a licensed professional technician.
This comprehensive guide walks you through step-by-step diagnostic procedures, common heating system issues, safety precautions, maintenance strategies, and professional troubleshooting methods so you can manage any home heating emergency with total confidence.
Understanding Modern Home Heating Systems
Before jumping into complex repairs, it is essential to understand the basic mechanics powering your home heat. Modern residential properties generally rely on one of three common heating setups:
- Air Source Heat Pumps: Extremely popular in warmer or moderate climates, these systems transfer ambient heat between the inside and outside of your home using refrigerant lines and reversing valves.
- Gas or Oil Furnaces: Common in colder regions, furnaces burn fuel inside a burner assembly and heat exchanger, then distribute warm air through central ductwork using a motor-driven blower fan.
- Electric Resistance Heating: Utilizing coils or strip heaters inside an air handler, electric systems heat passing air directly using electrical currents.
Regardless of the specific equipment installed in your mechanical room, every system relies on air circulation, electrical power, precision thermostats, and safety switches. When a single element breaks down, you will likely need targeted heater repair to get the overall system back into peak operating condition.
7 Essential Steps for Fast Heater Repair
If your heating unit refuses to turn on or struggles to maintain comfortable indoor temperatures, work through these seven proven diagnostic and restoration steps before scheduling a emergency service visit.
+-----------------------------------------------------------------------+
| HEATER REPAIR DIAGNOSTIC |
+-----------------------------------------------------------------------+
|
+---> Step 1: Verify Thermostat Settings & Batteries
|
+---> Step 2: Check Electrical Panels & Safety Switches
|
+---> Step 3: Inspect & Replace Clogged Air Filters
|
+---> Step 4: Examine Igniters, Pilot Lights & Fuel Valves
|
+---> Step 5: Clear Obstructions Around Air Vents & Heat Pumps
|
+---> Step 6: Reset & Test the Internal Blower Motor Assembly
|
+---> Step 7: Call Certified Professionals for Advanced Repairs
Step 1: Verify Thermostat Power and Calibration Settings
It sounds remarkably simple, but a surprising percentage of heating failures stem directly from thermostat misconfigurations or drained control batteries.
- Check Power Sources: If your digital thermostat display screen is completely blank, replace its internal AA or AAA batteries immediately.
- Verify System Mode: Confirm that the selector switch is firmly turned to HEAT rather than COOL or OFF.
- Set Temperature Differentials: Increase your target temperature setting at least 5 degrees above the current ambient room temperature. Listen closely for an audible click from the thermostat relay, which signals that it is sending a low-voltage command signal to the central air handler.
- Check Programmable Schedules: Inspect your thermostat schedule to ensure a hold or vacation mode is not accidentally keeping the system from engaging.
Step 2: Check Circuit Breakers, Fuses, and Safety Disconnects
Heating equipment draws significant electrical energy during startup. A power surge, overloaded circuit, or temporary voltage drop can trip high-voltage safety breakers without warning.
- Locate your home’s main breaker box and inspect the dual-pole breakers designated for the heating system or indoor air handler.
- Look for switches positioned midway between the ON and OFF settings. Flip the designated breaker completely to the OFF position first, then reset it back to ON.
- Locate the emergency toggle switch next to your furnace or heat pump air handler (which often looks like a standard wall light switch). Ensure this master cut-off switch was not bumped into the OFF position by accident.
- Verify that the safety door switch on your air handler cabinet is fully engaged. Most modern air handlers feature a spring-loaded switch that cuts all electrical power if the access panel is loose or removed.
Step 3: Inspect and Replace Restrictive Air Filters
Airflow blockage is one of the leading root causes of emergency heater repair calls nationwide. When an air filter becomes clogged with dust, pet hair, and airborne debris, it chokes the system's intake air.
- Overheating Limits: Without sufficient airflow across the heat exchanger or electric heating elements, temperatures inside the cabinet rapidly rise. This trips the internal high-limit safety switch, forcing the system to shut down safely before severe heat damage or fire hazards occur.
- Filter Replacement: Turn off system power, slide out the dirty air filter, and replace it with a fresh filter of the correct dimensions and MERV rating.
- Testing Recovery: Once a clean filter is installed, reset system power at the breaker panel and allow the unit to run through a full heating cycle.
Step 4: Examine Gas Lines, Ignition Systems, and Pilot Lights
For homes equipped with gas-fired furnaces, heating failures often originate inside the burner compartment.
- Check Gas Supply Valves: Ensure the manual gas shut-off valve on the supply line running to the furnace is turned completely parallel to the gas pipe (the OPEN position).
- Inspect Hot-Surface Igniters: Modern gas furnaces utilize electronic silicon carbide or nitride igniters that glow bright orange to ignite incoming gas. If you hear the furnace fan start and gas click open, but no flame ignites, the fragile electronic igniter may be cracked, burned out, or oxidized.
- Check Older Pilot Lights: On older gas furnaces, verify if the standing pilot light has blown out. Follow the manufacturer instructions pasted inside the door panel to safely re-light the pilot flame using the manual ignition control knob.
- Clean Flame Sensors: A dirty flame sensor rod coated in carbon buildup will fail to detect an active flame, prompting the furnace control board to cut off gas flow within seconds as a fire prevention safety measure. Carefully cleaning the metal sensor rod with light emery cloth or fine steel wool often resolves short-cycling issues immediately.
Step 5: Clear Debris and Obstructions Around Intake and Exhaust Vents
Efficient heating systems rely on completely uninhibited air circulation both inside and outside the property boundary.
- Inspect Supply and Return Registers: Walk through your living space and ensure furniture, heavy curtains, rugs, or storage boxes are not blocking floor or ceiling air vents. Keep at least 80% of all supply registers fully open to maintain correct internal system static pressure.
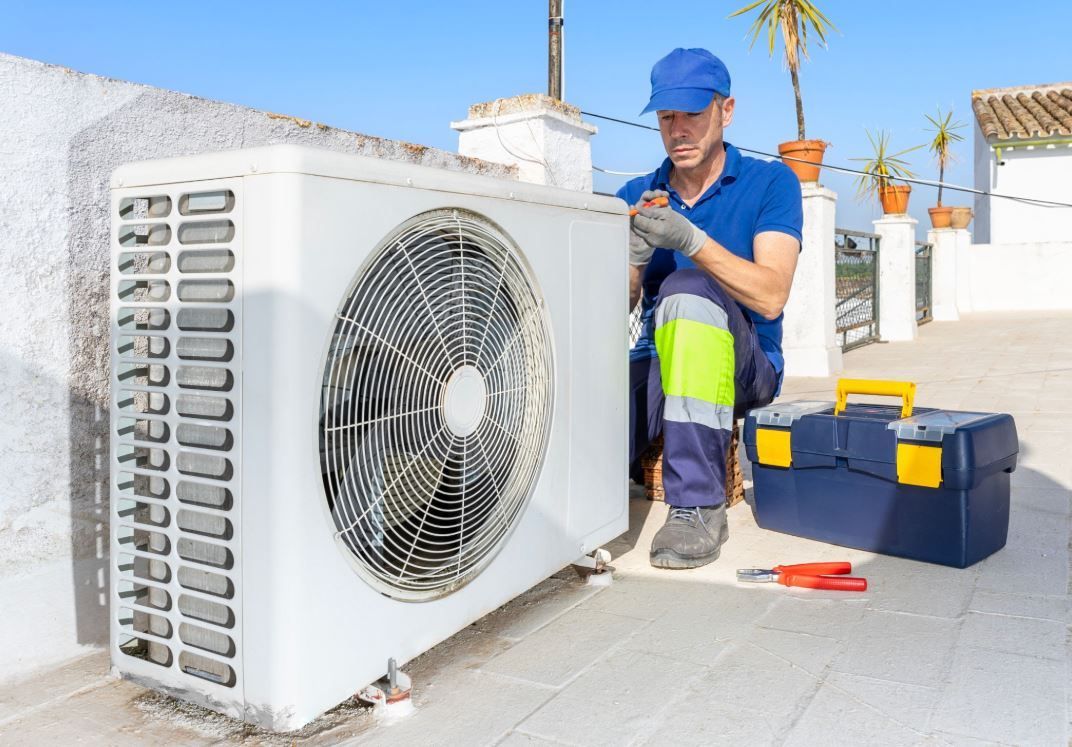
- Clear Exterior Heat Pump Coils: If you operate an exterior heat pump, clear away fallen leaves, heavy snow accumulations, dirt, or overgrown garden foliage from around the outdoor condensing unit. Maintain a minimum clearance of two feet around all sides.
- Inspect PVC Vent Pipes: For high-efficiency direct-vent gas furnaces, check the PVC intake and exhaust pipes protruding through exterior walls. Ensure bird nests, ice accumulation, or leaves are not choking the intake air or trapping dangerous combustion fumes inside the home.
Step 6: Reset and Inspect the Internal Blower Fan Assembly
The blower motor is responsible for pushing warm air through the ductwork and distributing it evenly across every room in your house.
- Listen for Mechanical Noises: A humming blower motor that fails to rotate often points to a blown dual-run capacitor. Capacitors store high electrical charges to give fan motors the initial kinetic boost needed to start spinning.
- Check Belts and Bearings: On older belt-driven blower systems, inspect the drive belt for fraying, looseness, or snapping. Squeal or screeching noises usually signal worn motor bearings that require immediate lubrication or mechanical replacement.
- Reset Overload Buttons: Some blower motors feature a manual red thermal overload reset button located on the back motor housing. Turn off system power, press the red button firm until it clicks, wait ten minutes for the casing to cool, and restore power.
Step 7: Know When to Call a Certified Professional
While basic filter checks, thermostat battery changes, and circuit breaker resets are safe DIY tasks, advanced mechanical and electrical issues demand immediate professional attention. Attempting complex repairs without proper diagnostic training, specialized tools, and HVAC certification can jeopardize your household safety and void valuable manufacturer equipment warranties.
Call a professional technician right away if you encounter:
- Strong odors of natural gas, propane, or rotten eggs near your heating equipment.
- Pungent burning electrical smells or visible smoke exiting supply vents.
- Persistent, high-pitched metal-on-metal grinding or loud banging sounds inside the cabinet.
- System short-cycling (turning on and off every two to three minutes continuously).
- Carbon monoxide detector alarms sounding anywhere inside the living quarters.
- Burner flames that burn yellow or orange rather than a crisp, clear blue.
Common Heating System Symptoms and Troubleshooting Solutions
To help you diagnose problems quickly, the reference guide below outlines frequent home heating symptoms, potential causes, and corresponding action plans.
Symptom 1: System Blows Cold or Lukewarm Air
- Possible Causes: Thermostat set to FAN ON continuously; tripped high-limit switch from dirty filters; leaky supply ductwork pulling cold attic air; heat pump locked in defrost cycle; faulty reversing valve.
- Immediate Fix: Change system fan settings from ON to AUTO on your thermostat screen. Replace dirty filters immediately. Inspect visible duct seams in basements or attics for dislodged connections and seal leaks using mastic sealant or heavy foil tape.
Symptom 2: Furnace Ignites but Shuts Off After 5 to 10 Seconds
- Possible Causes: Oxidized or dirty flame sensor rod; faulty draft inducer pressure switch; restricted flue vent pipe; bad ground wire connection to control board.
- Immediate Fix: Turn off main circuit breaker power, open the burner compartment door, gently remove the flame sensor rod, and clean off carbon deposits using fine steel wool before reinstalling.
Symptom 3: Complete System Dead Silence with No Response
- Possible Causes: Tripped circuit breaker; blown low-voltage 3-amp fuse on the main control board; open furnace door safety switch; turned off power isolation switch; failed transformer.
- Immediate Fix: Check main electrical panel, reset double-pole breakers firmly, ensure blower compartment door panels are screwed tight, and check control board fuse status.
Symptom 4: Loud Rattling, Squealing, or Banging Sounds
- Possible Causes: Loose motor mounts; worn fan pulley belts; debris trapped inside blower wheel; expanding ductwork sheet metal; ignition delay causing mild mini-explosions in gas burners.
- Immediate Fix: Turn off system power completely before reaching inside cabinet housings. Tighten loose fan housing screws. If banging noises originate during initial burner ignition, schedule professional service immediately to clear gas jet orifices.
The Critical Importance of Professional Preventative Maintenance
While knowing how to manage unexpected heater repair situations is invaluable for every homeowner, proactive preventative maintenance remains the absolute single best defense against expensive sudden breakdowns, skyrocketing utility bills, and premature system replacement.
PREVENTATIVE MAINTENANCE BENEFITS
+---------------------------------------+
| [+] Extended System Lifespan (15+ yrs) |
| [+] Lower Monthly Utility Bills |
| [+] Enhanced Indoor Air Quality |
| [+] Uncompromised Home Safety |
| [+] Reduced Emergency Repair Costs |
+---------------------------------------+
What Happens During a Professional Tune-Up?
A comprehensive seasonal tune-up conducted by an experienced HVAC technician includes crucial safety checks and performance optimization procedures that go far beyond standard home troubleshooting:
- Combustion Efficiency Analysis: Testing fuel-to-air burn ratios on gas units to ensure complete combustion, preventing toxic carbon monoxide leaks and soot buildup inside heat exchangers.
- Heat Exchanger Integrity Inspections: Utilizing specialized infrared cameras or fiber-optic borescopes to inspect heat exchanger walls for microscopic stress fractures that could leak dangerous flue gases into indoor living spaces.
- Electrical Component Diagnostics: Measuring live operating amperage and voltage draws on motors, igniters, compressor coils, and heating elements using precise digital multimeters.
- Deep Coil and Blower Cleaning: Removing stubborn grime, dust, and microbial buildup from interior air handler blower wheels and evaporator/condenser coils to preserve factory-rated heat transfer efficiency.
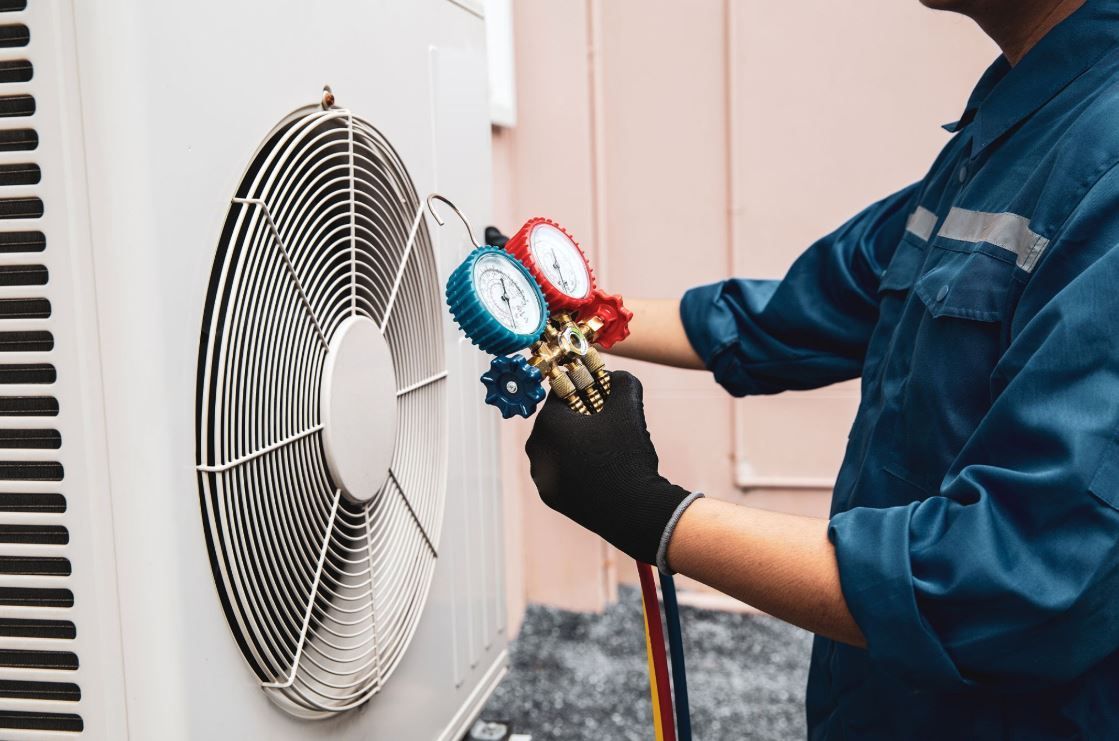
- Refrigerant Level Verification: Testing operating pressures on heat pump systems to ensure correct refrigerant charges for seamless heating and cooling performance year-round.
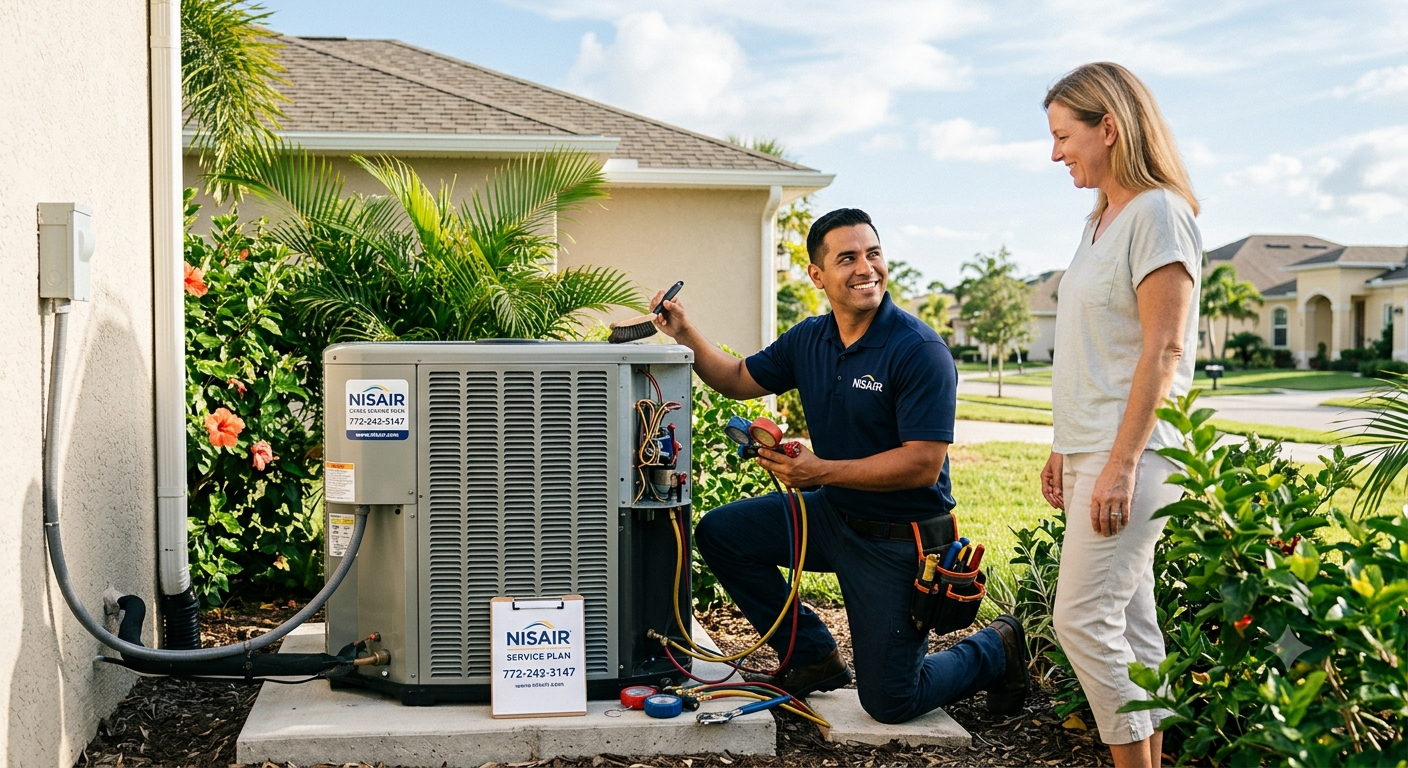
Investing in a regular professional maintenance plan ensures your unit operates at peak efficiency during the coldest days of the season while preserving your manufacturer's parts warranty.
Essential Safety Precautions During DIY Inspections
Working near high-voltage electrical circuits, natural gas supply lines, and hot burner assemblies carries inherent risks. Always follow strict safety rules whenever inspecting or troubleshooting your home heating equipment:
- Always Cut Electrical Power First: Before removing access panels, changing internal components, or cleaning internal sensors, turn off power at both the local isolation switch and the main home circuit breaker panel.
- Install Working Carbon Monoxide Detectors: Carbon monoxide is an odorless, colorless, and highly dangerous gas produced by incomplete fossil fuel combustion. Install CO alarms on every floor of your home, especially near sleeping areas, and test them monthly.
- Never Ignore Gas Smells: If you smell gas (a pungent sulfur or rotten egg odor), do NOT flip electrical switches, light matches, or attempt any DIY repairs. Evacuate all occupants and pets from the home immediately, then call your local gas utility provider or emergency services from a safe distance outside.
- Maintain Clear Equipment Perimeter: Keep flammable items—such as paint cans, gasoline, cardboard storage boxes, paper products, and cleaning chemicals—at least three to four feet away from furnaces and water heaters at all times.
When to Replace vs. Repair Your Heating System
Even well-maintained heating units eventually reach the end of their functional operational lifespans. Deciding whether to invest in additional repairs or replace your central unit with a modern, high-efficiency heat pump or furnace comes down to several key evaluation factors:
The 50% Rule of Repair
If a recommended repair estimate approaches or exceeds 50% of the total cost of purchasing and installing a brand-new, modern heating unit, replacement is almost always the smarter financial decision.
System Age Considerations
Standard furnaces generally last between 15 to 20 years, while air-source heat pumps typically operate efficiently for 10 to 15 years. If your heating equipment is over 12 to 15 years old and requiring frequent service calls, upgrading to a modern system will significantly reduce monthly utility expenses thanks to higher SEER2 and AFUE efficiency ratings.
Rising Energy Bills
If your energy consumption and heating bills spike noticeably winter after winter despite consistent thermostat habits, your equipment is losing its operational efficiency due to aging internal heat exchangers, degraded compressor valves, or worn motor windings.
Fast, Dependable Home Comfort Solutions
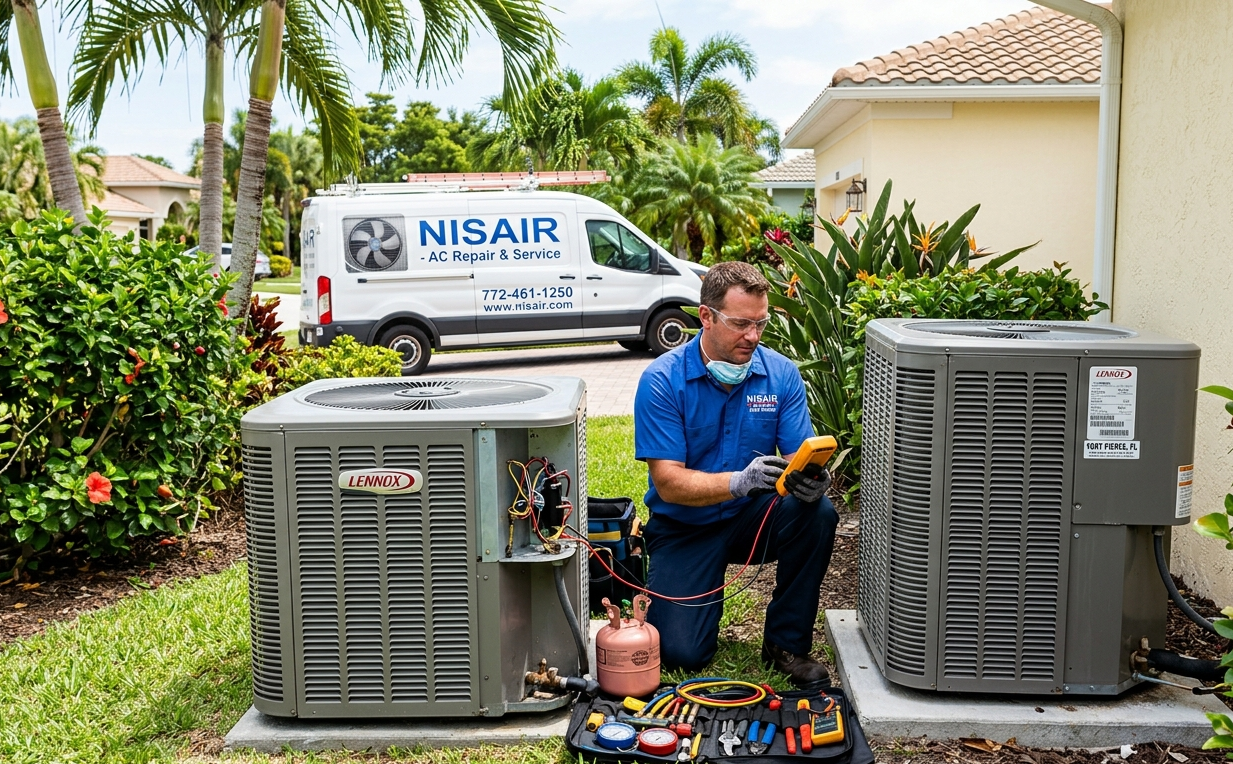
When DIY troubleshooting steps fail to restore heat to your living space, having a trustworthy, highly trained HVAC team available makes all the difference. For prompt, expert diagnostic evaluations, routine preventative maintenance tune-ups, or complete emergency services, reach out directly to the certified technicians at nisair.com heater repair. With localized industry experience, transparent pricing estimates, and round-the-clock emergency assistance, you can keep your home warm, safe, and comfortable throughout every season.
Frequently Asked Questions
How often should I change my central home heating filter?
Standard 1-inch thick pleat air filters should be inspected monthly and replaced every 30 to 90 days. Homes with multiple pets, occupants suffering from allergies, or high dust levels benefit from changing filters every 30 days during heavy usage seasons.
Why is my furnace blowing warm air initially and then switching to cold air?
This symptom usually indicates that the unit is short-cycling due to overheating. The furnace ignites, heats up rapidly, and trips its internal limit switch because of restricted airflow (such as a dirty filter or closed vents). The burners shut down for safety, but the blower motor continues running to cool the heat exchanger, pushing cold air into your living spaces.
Can I run my heat pump when it is freezing outside?
Yes. Modern heat pumps feature supplemental electric heat strips or auxiliary heating modes that engage automatically when outdoor temperatures drop below freezing levels, ensuring your home stays warm regardless of harsh weather outside.
How do I know if my heat exchanger is cracked?
Signs of a cracked heat exchanger include persistent soot buildup inside the burner door, strange chemical or metallic odors exiting supply vents, fluttering burner flames when the blower motor turns on, or unexplained symptoms of carbon monoxide exposure like headaches or nausea. If you suspect a cracked heat exchanger, turn off the system immediately and request an inspection.
Recent Posts