Installing a central heating, ventilation, and air conditioning system is one of the most substantial home improvement investments a property owner will make. In Florida’s challenging subtropical climate, where systems operate for thousands of hours each year under intense heat and humidity, a high-quality installation is critical. Getting every step of the replacement or new installation process right ensures consistent cooling performance, lowers monthly power bills, prevents premature mechanical failure, and maintains clean indoor air quality.
Whether upgrading an aging air conditioner or putting cooling into new construction, knowing what to expect from a professional project helps you make smart choices. This complete step-by-step guide walks you through every phase of a modern cooling project, from initial load calculations to final system testing.
Step 1: Performing Accurate Load Calculations (Manual J)
A common mistake in residential heating and cooling projects is sizing the replacement equipment purely on the size of the existing unit. Over time, home improvements such as updated insulation, energy-efficient windows, or added rooms change the total heating and cooling demand of your house.
Before selecting any equipment, qualified HVAC technicians calculate heat gains and losses using industry-standard formulas known as Manual J load calculations. This comprehensive assessment measures several vital factors:
- Total square footage and ceiling height of every room.
- Quality, depth, and R-value of attic and wall insulation.
- Number, orientation, size, and shading of windows and doors.
- Local climate profile, sun exposure, and daily moisture loads.
- Internal heat generation from household appliances and residents.
Selecting an oversized unit results in short-cycling, where the equipment turns on and off rapidly. Short-cycling prevents the system from running long enough to pull humidity out of the air, leaving your home feeling clammy while causing excessive wear on mechanical components. Conversely, an undersized system runs constantly without reaching your desired thermostat temperature. Precise load calculations guarantee that your new system is matched perfectly to your living space.
Step 2: Choosing the Right Equipment and Seasonal Efficiency Rating
Once load requirements are calculated, the next phase involves selecting equipment designed to match your home's layout and long-term budget. Modern cooling systems come in several configurations, including traditional split systems, heat pumps, and ductless mini-split setups.
When reviewing equipment options, look closely at efficiency metrics:
- SEER2 (Seasonal Energy Efficiency Ratio 2): Measures seasonal cooling efficiency under updated testing protocols. Higher numbers represent greater energy savings during hot months.
- EER2 (Energy Efficiency Ratio 2): Evaluates cooling performance at peak operating temperatures, which is especially important during extreme summer heat waves.
- HSPF2 (Heating Seasonal Performance Factor 2): Measures heat pump heating performance for cooler winter nights.
Along with rating scores, consider compressor design options. Single-stage compressors operate only at full capacity. Two-stage units provide a lower cooling level for milder days. Variable-speed inverter systems continuously adjust output in small increments, delivering steady temperature control, optimal dehumidification, and lower electrical consumption.
Step 3: Inspecting and Upgrading Ductwork Infrastructure
A high-efficiency outdoor condenser and indoor air handler cannot perform correctly if connected to leaking or undersized air ducts. Ductwork acts as the circulatory system of your home, and minor defects can waste up to 30 percent of conditioned air.
During an HVAC install, technicians examine existing ductwork to verify structural integrity and airflow capacity:
- Leakage Testing: Checking for cracks, loose joints, or degraded sealing tape where cool air escapes into attic spaces.
- Sizing Verification: Confirming return and supply ducts are large enough to handle the volume of air required by the new unit.
- Insulation Inspection: Ensuring ducts are wrapped in intact insulation to stop condensation buildup in hot attics.
- Airflow Balancing: Checking register locations to prevent air stagnation in far bedrooms or high-ceiling living rooms.
Addressing duct modifications before putting in new mechanical units prevents static pressure issues, reduces system strain, and keeps air moving quietly throughout every room.
Step 4: Safely Removing Old Equipment and Preparing the Site
On installation day, the work area must be properly prepped to keep your property clean and safe. Certified technicians start by cutting power at the main electrical panel and safely pumping out old refrigerant using dedicated recovery machines, adhering strictly to federal environmental standards.
Once refrigerant is recovered, technicians disconnect electrical wiring, control lines, and condensate drains. The old indoor air handler and outdoor condensing unit are disconnected and hauled away for recycling.
Site prep for the new equipment includes:
- Setting a level composite or concrete pad for the outdoor condenser to eliminate vibration and settle settling risks.
- Installing rubber isolation pads to dampen operational noise.
- Cleaning and reinforcing the indoor equipment closet, attic platform, or garage platform.
- Checking emergency drain pans and safety switches to prevent future water overflow damage.
Step 5: Positioning, Wiring, and Refrigerant Line Assembly
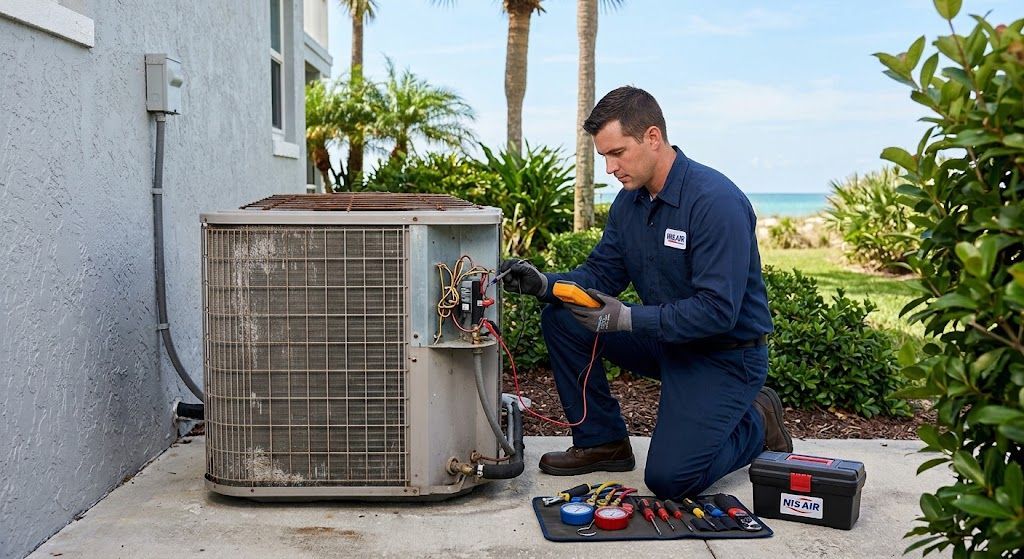
With the job site prepared, technicians position the new indoor air handler and outdoor condensing unit into place. Precision during this stage prevents long-term mechanical stress and ensures easy access for future maintenance.
Key tasks during this physical assembly include:
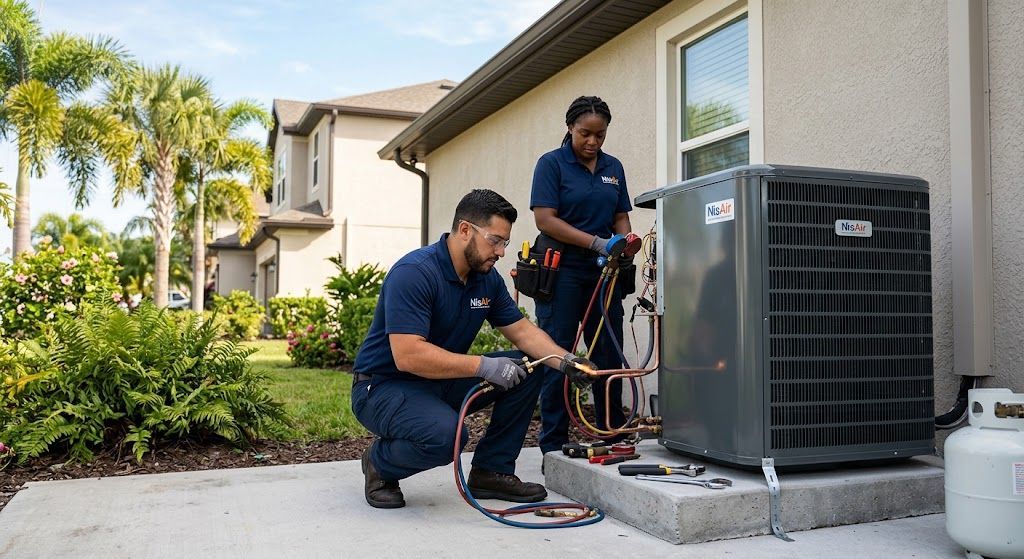
- Line Set Connection: Replacing or thoroughly flushing copper refrigerant lines with specialized flush kits to clear out old oil residues.
- Brazing Under Nitrogen: Joining copper lines using silver alloy rod heat brazing while purging dry nitrogen gas through the pipes. This step prevents oxidation scale from forming inside the line, protecting sensitive thermal expansion valves from blockages.
- Electrical Wiring: Connecting high-voltage lines, disconnect boxes, whip conduits, and low-voltage control lines to the system circuit board.
- Condensate Line Routing: Installing new PVC drain piping, complete with cleanout tees, traps, and float safety switches that automatically cut system power if lines block.
Step 6: Evacuating the System and Setting Refrigerant Charges
Once copper lines are brazed and sealed, moisture and non-condensable gases must be extracted from the sealed refrigeration loop. Any moisture left inside a system mixes with oil to form damaging acids that degrade motor windings and cause compressor failure.
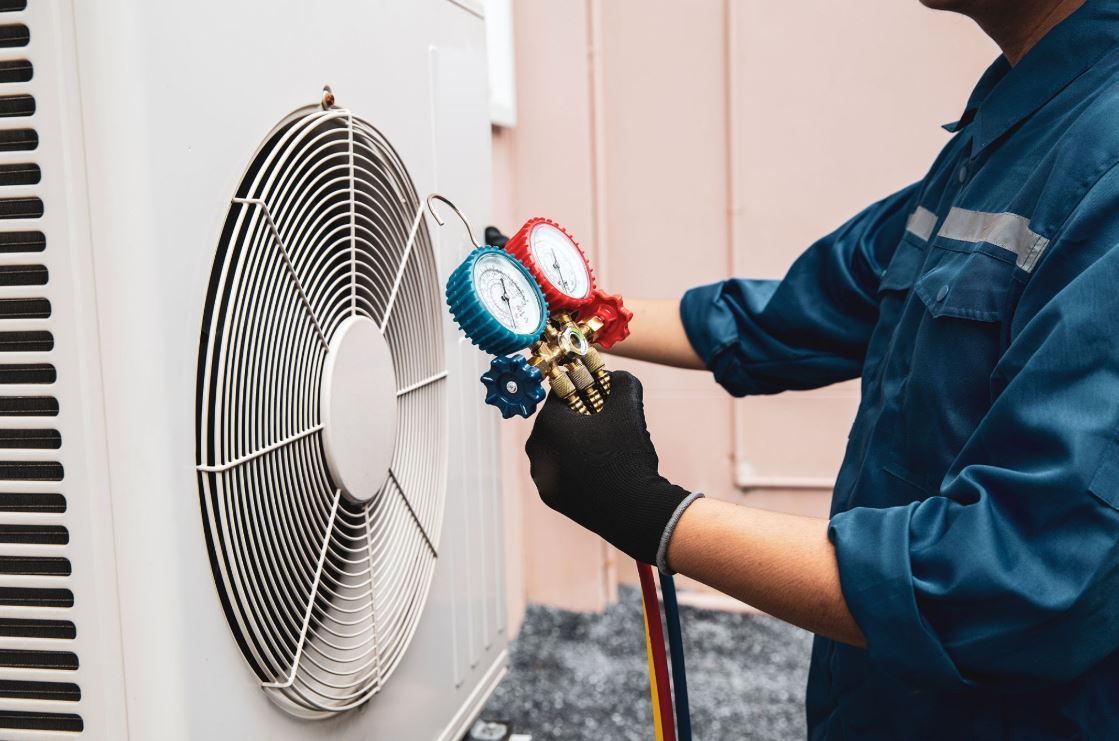
Technicians connect a deep vacuum pump to pull system pressure down below 500 microns. Holding a stable vacuum proves the system is leak-free and free of moisture contamination.
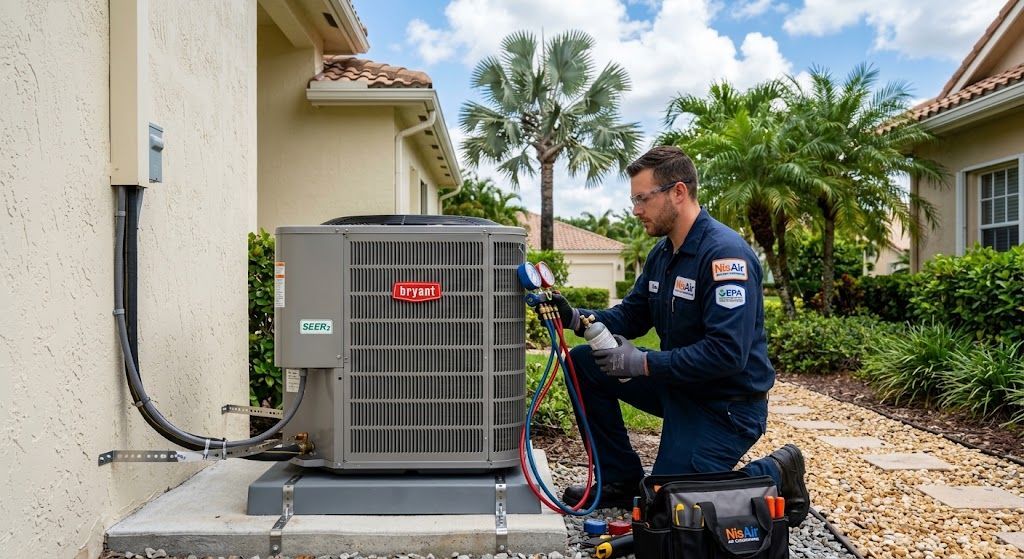
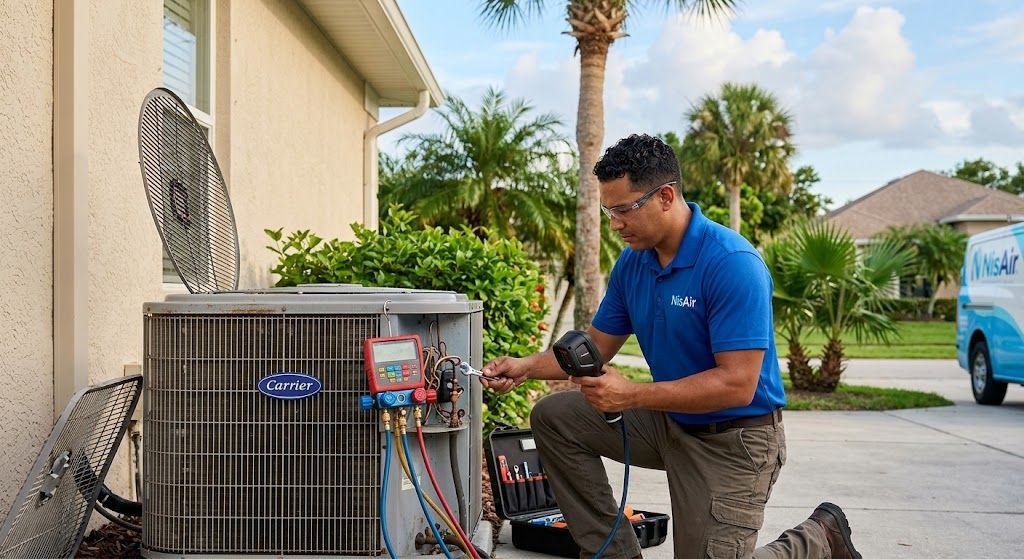
After verifying a tight seal, the refrigerant circuit is charged. Technicians release pre-charged refrigerant from the factory condenser or weigh in additional refrigerant according to factory line-length charts. Final adjustments are fine-tuned using subcooling and superheat measurements taken while the unit runs at full capacity.
Step 7: Final Commissioning, Air Balancing, and Owner Orientation
The final step is complete system commissioning. Turning a new unit on is only part of the job; testing operating conditions ensures the installation meets factory performance standards.
The commissioning checklist covers:
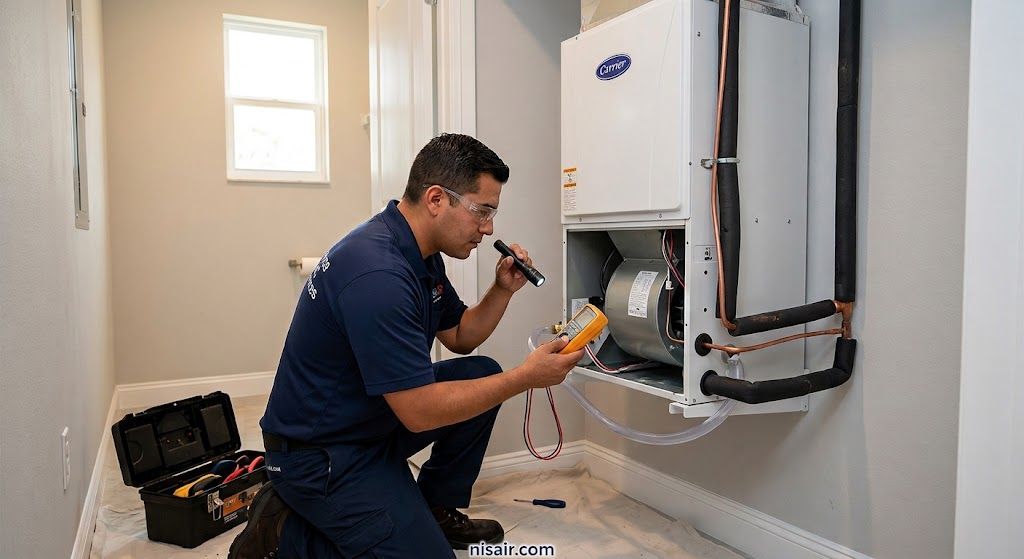
- Measuring total amp draw on motor and compressor circuits against nameplate standards.
- Testing static pressure across the indoor coil to confirm proper system airflow.
- Checking temperature splits between supply air and return air vents.
- Calibrating new smart thermostats or digital controls to verify communication with the unit.
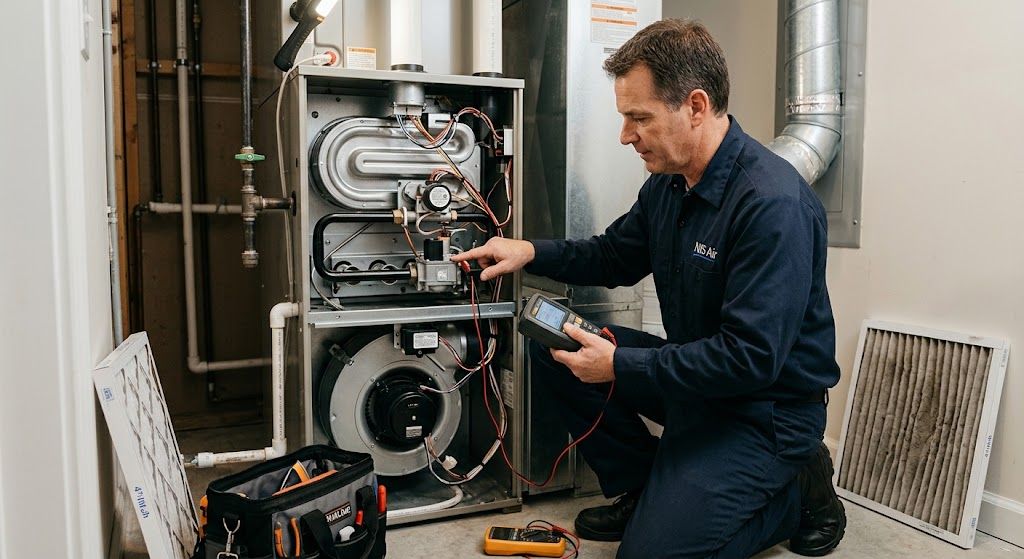
- Verifying all safety float switches, emergency drain lines, and electrical disconnects operate properly.
After performance data is logged, technicians explain system operation to the homeowner. You will learn how to change air filters, set efficient temperature schedules on your thermostat, manage humidity settings, and maintain warranty coverage.
Red Flags to Avoid During Your Upgrade Project
Selecting an experienced, licensed contractor is the single most important decision in any home comfort replacement project. Poor installation practices can cut overall equipment efficiency by up to 30 percent and lead to frequent service interruptions.
Keep an eye out for these installation red flags:
- No On-Site Inspection: Quotes given over the phone without measuring your home or checking your electrical panel.
- Reusing Damaged Line Sets: Refusing to flush or inspect existing copper lines when switching refrigerant types.
- Skipping Vacuum Pressure Tests: Rushing installation by failing to pull a deep micron vacuum on line sets.
- Incorrect Circuit Protection: Connecting new variable-speed equipment to outdated breaker panels without proper surge protection or disconnect upgrades.
- Ignoring Water Safety Controls: Skipping secondary drain pans or overflow float switches in indoor installations above living areas.
Working with experienced professionals who follow local building codes and manufacturer specifications gives you peace of mind that your investment will deliver dependable comfort for years to come.
Maximizing the Lifespan of Your New System
A newly installed system works best when supported by regular preventative care. To preserve high energy efficiency and safeguard manufacturer warranties, schedule professional tune-ups twice a year—once before summer cooling demand spikes and once before cooler winter months arrive.
Between professional service visits, check air filters monthly and replace them as soon as dust builds up. Keep the area surrounding your outdoor condenser clear of landscaping, tall grass, leaf debris, and outdoor clutter to ensure proper airflow through the coils. Taking these small steps protects your investment and maintains reliable home comfort all year long.
When you are ready to upgrade your home comfort, scheduling a professional home audit ensures your project goes smoothly from start to finish. For long-lasting efficiency and expert service along Florida's Treasure Coast, trust the certified team at NisAir Air Conditioning to handle your next
HVAC install.